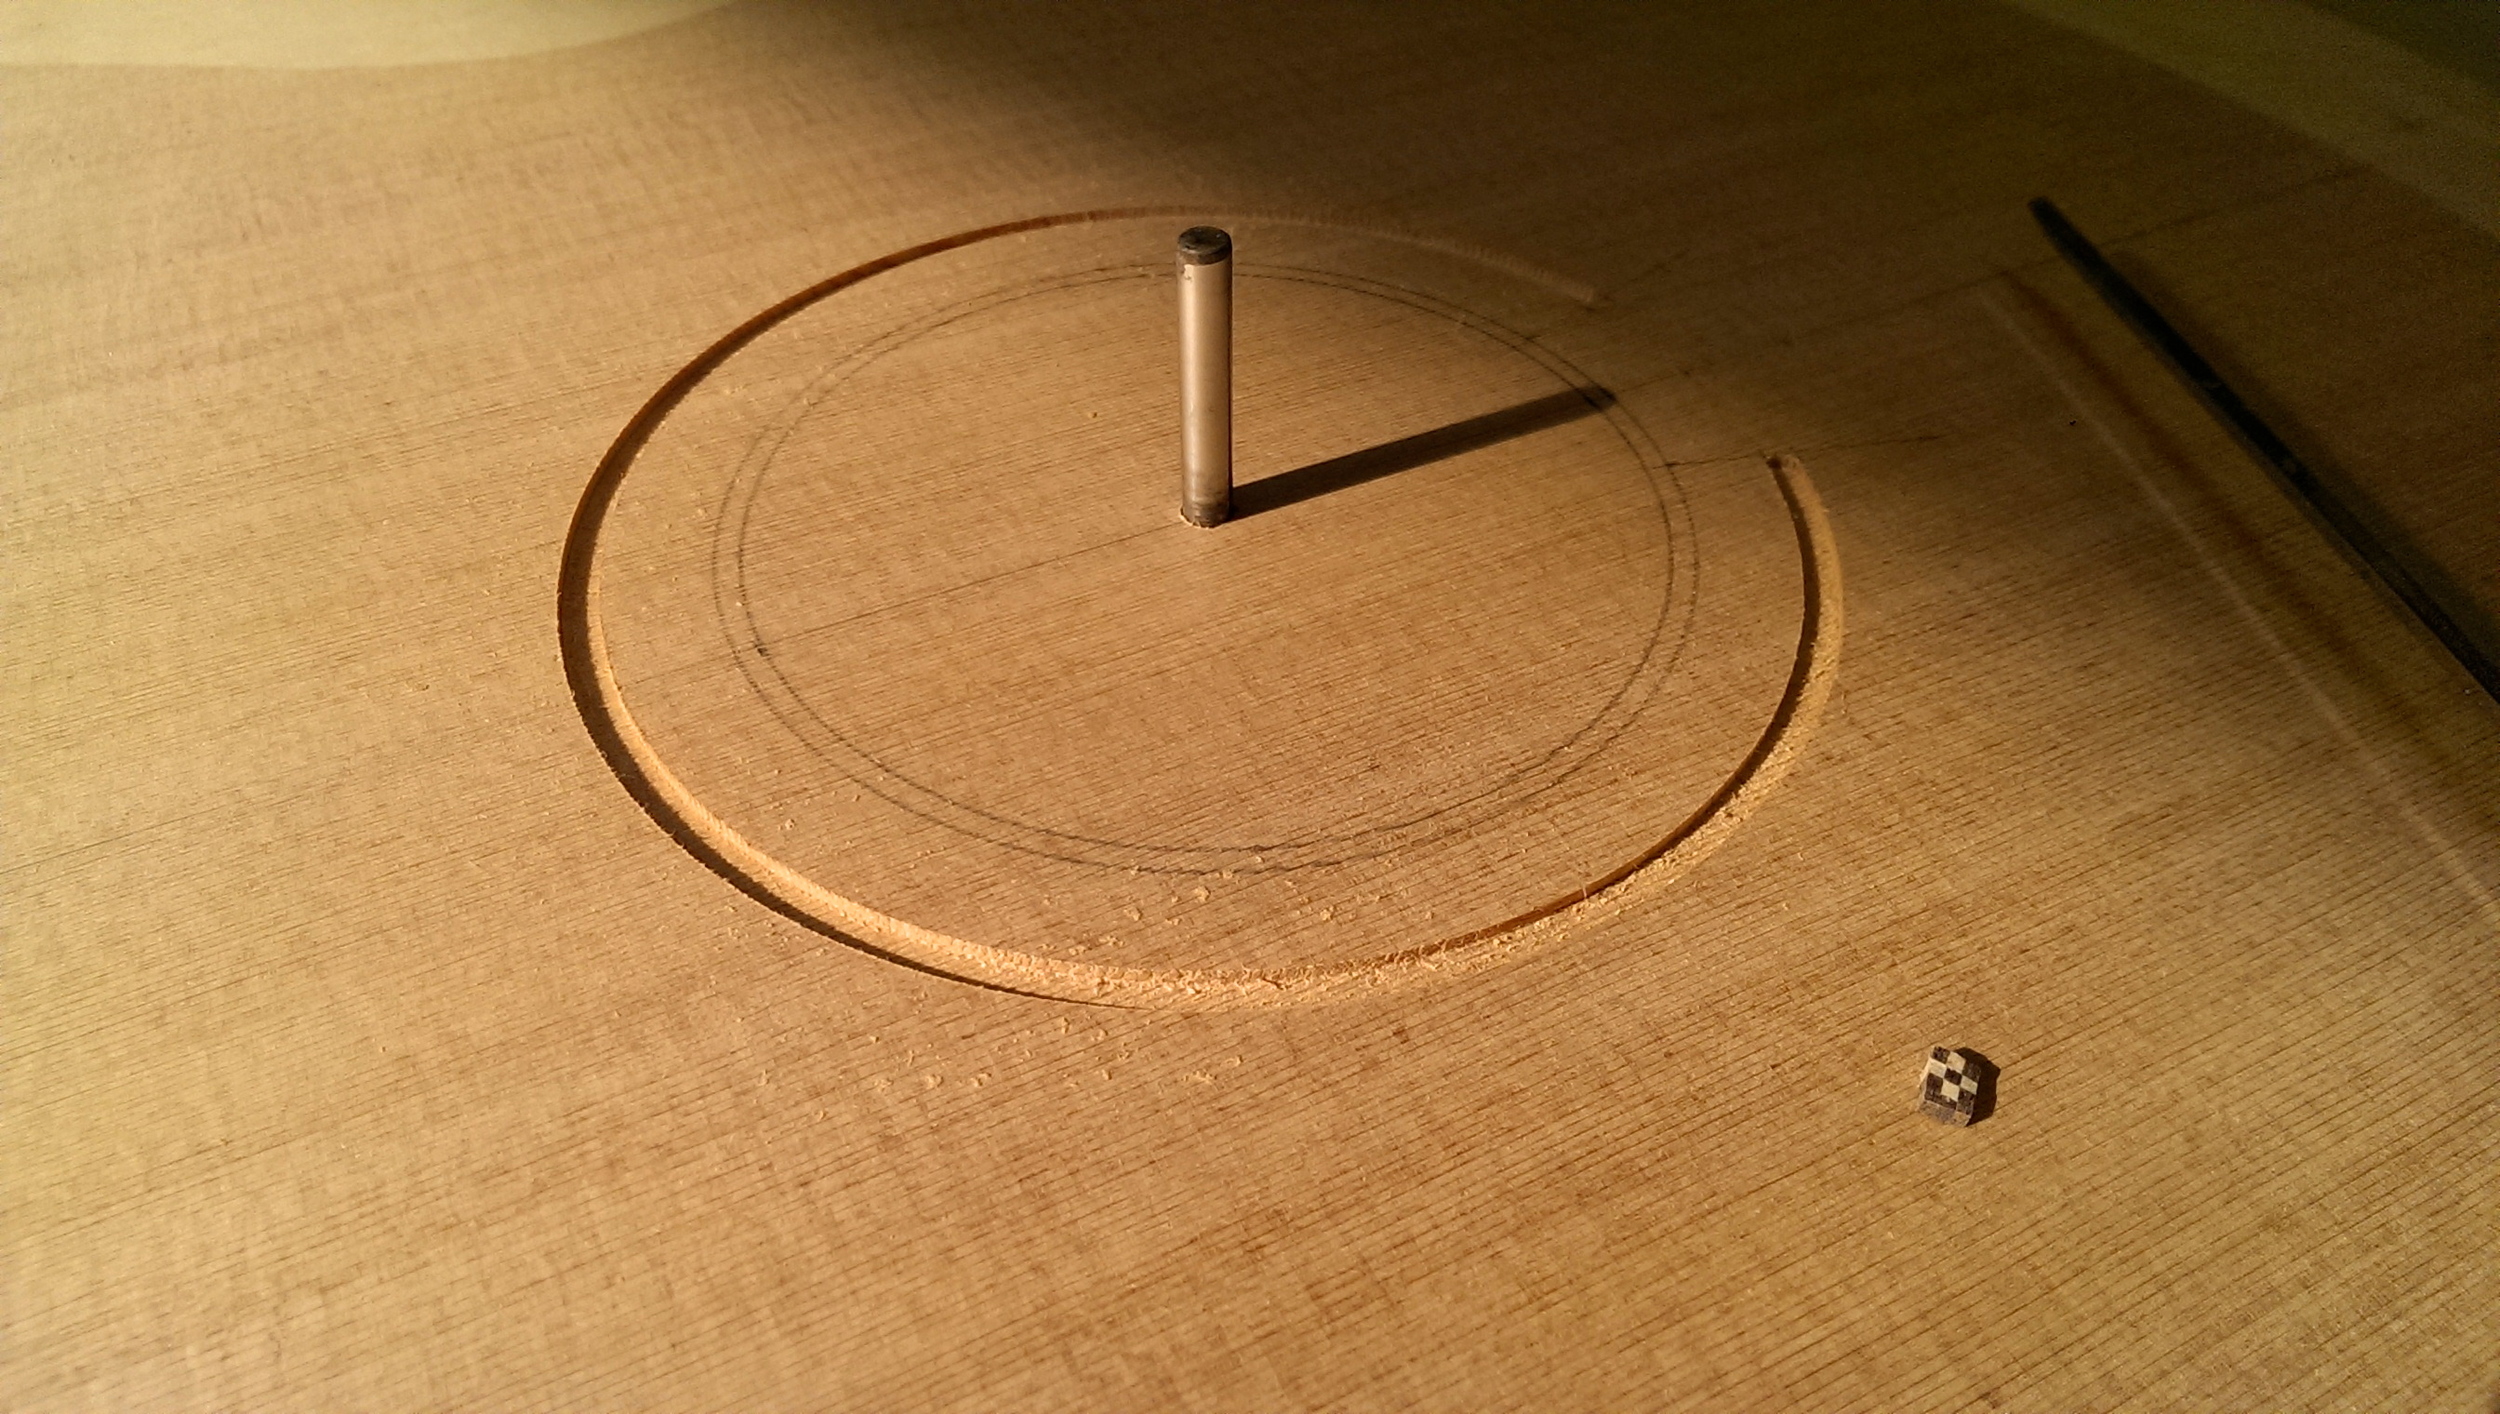
Getting closer to finishing up a new Torres model guitar. Got the fretboard glued on a few days ago with hot hide glue and now it's ready to be carved, planed and fretted.


640mm Concert Model With Elevated Fingerboard and New Torres Model
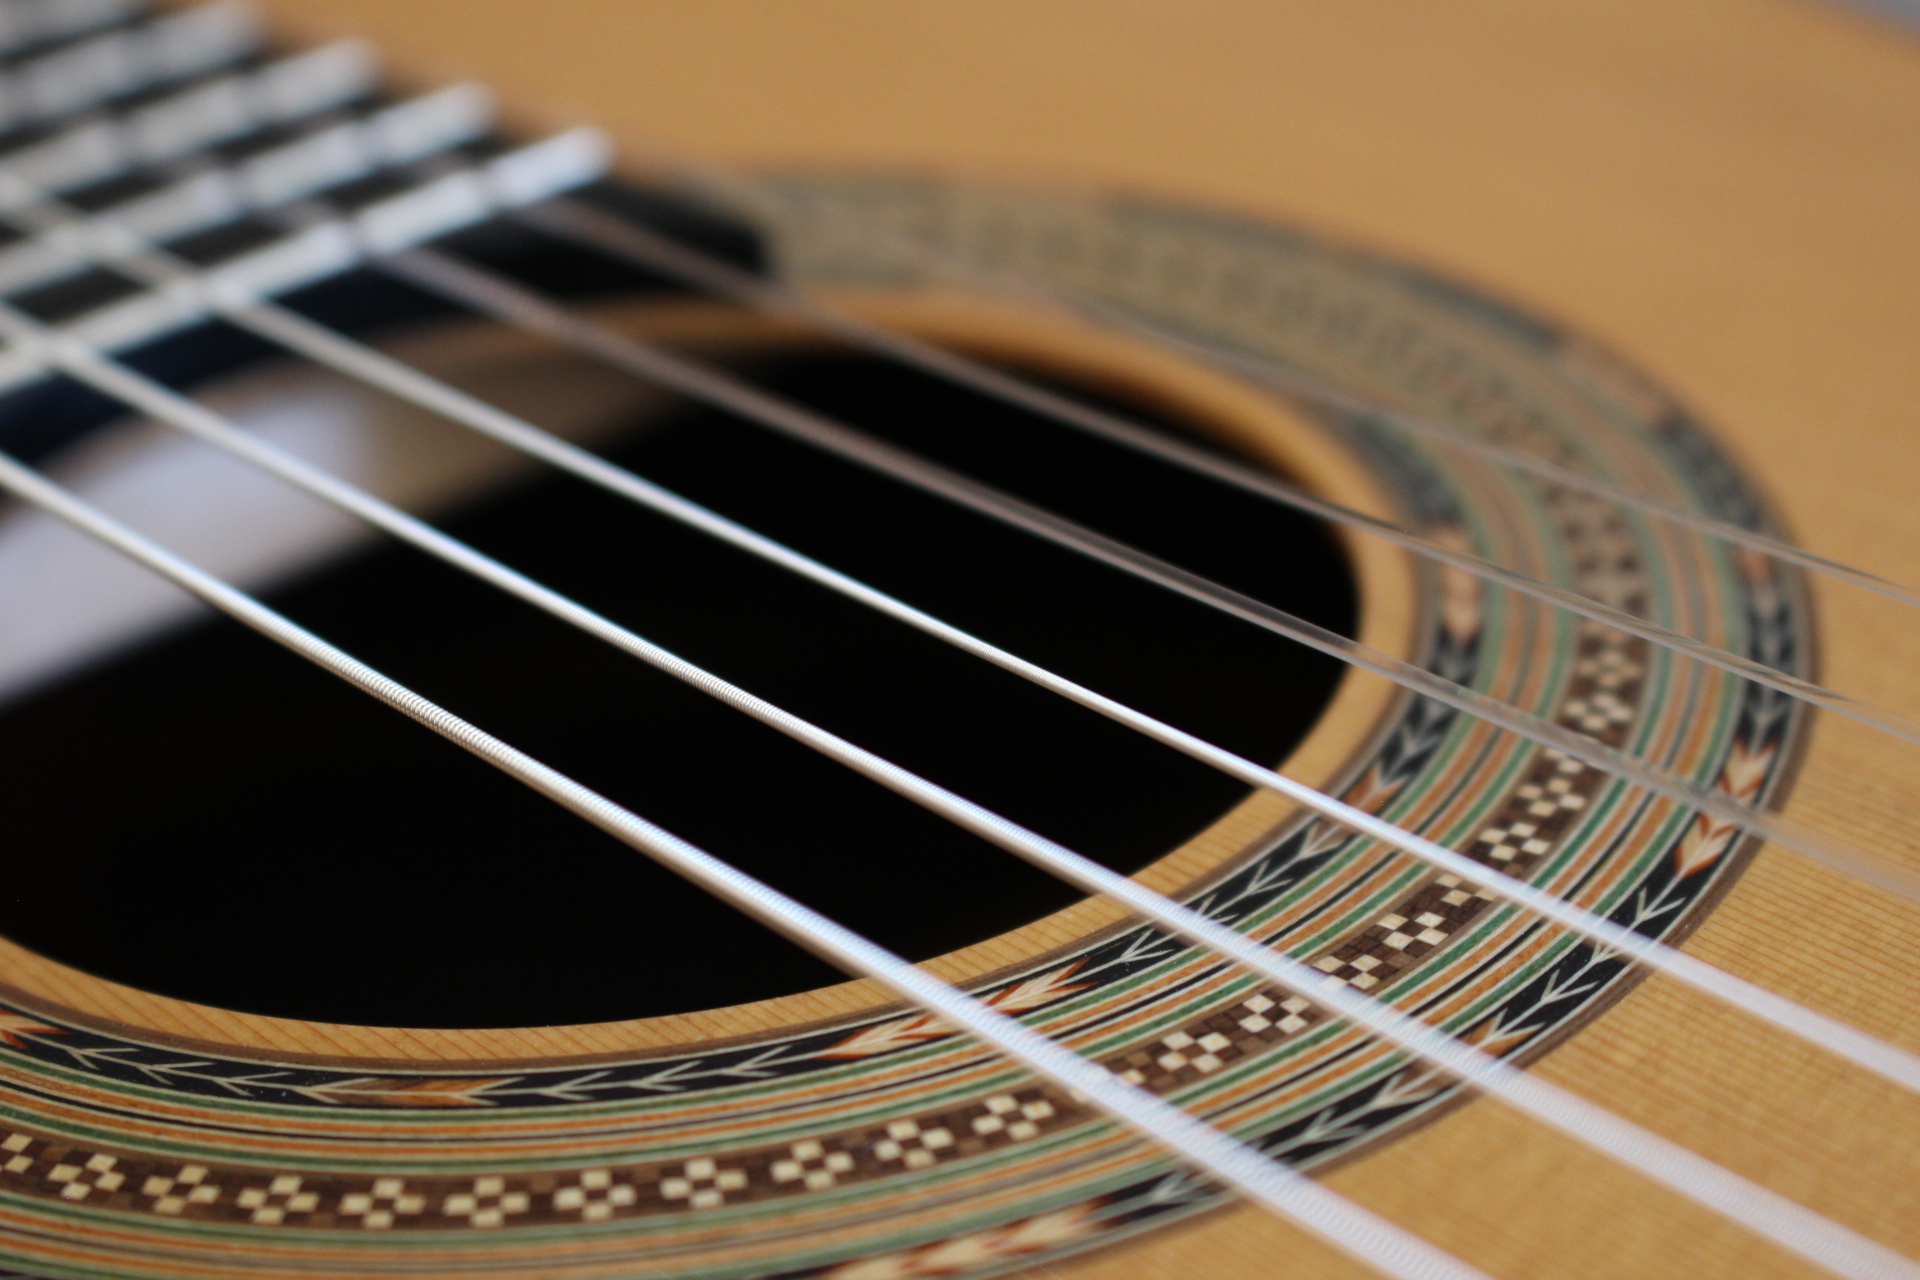
Getting ready to string up a new western red cedar concert model with an elevated fingerboard and 640mm scale length. Should be ready to go in a couple of weeks. Looking shiny!
In other news, I'm working on a new Torres model on order for the Rosewood Guitar shop with another on the way for a special order since it seemed to be very well received.


Gluing All Week, Various Bridges and Recording New Videos
I'm finally back into a groove at work and haven't really thought to take many pictures. I'm bracing up two new guitars and French polish another that will be available in mid November.
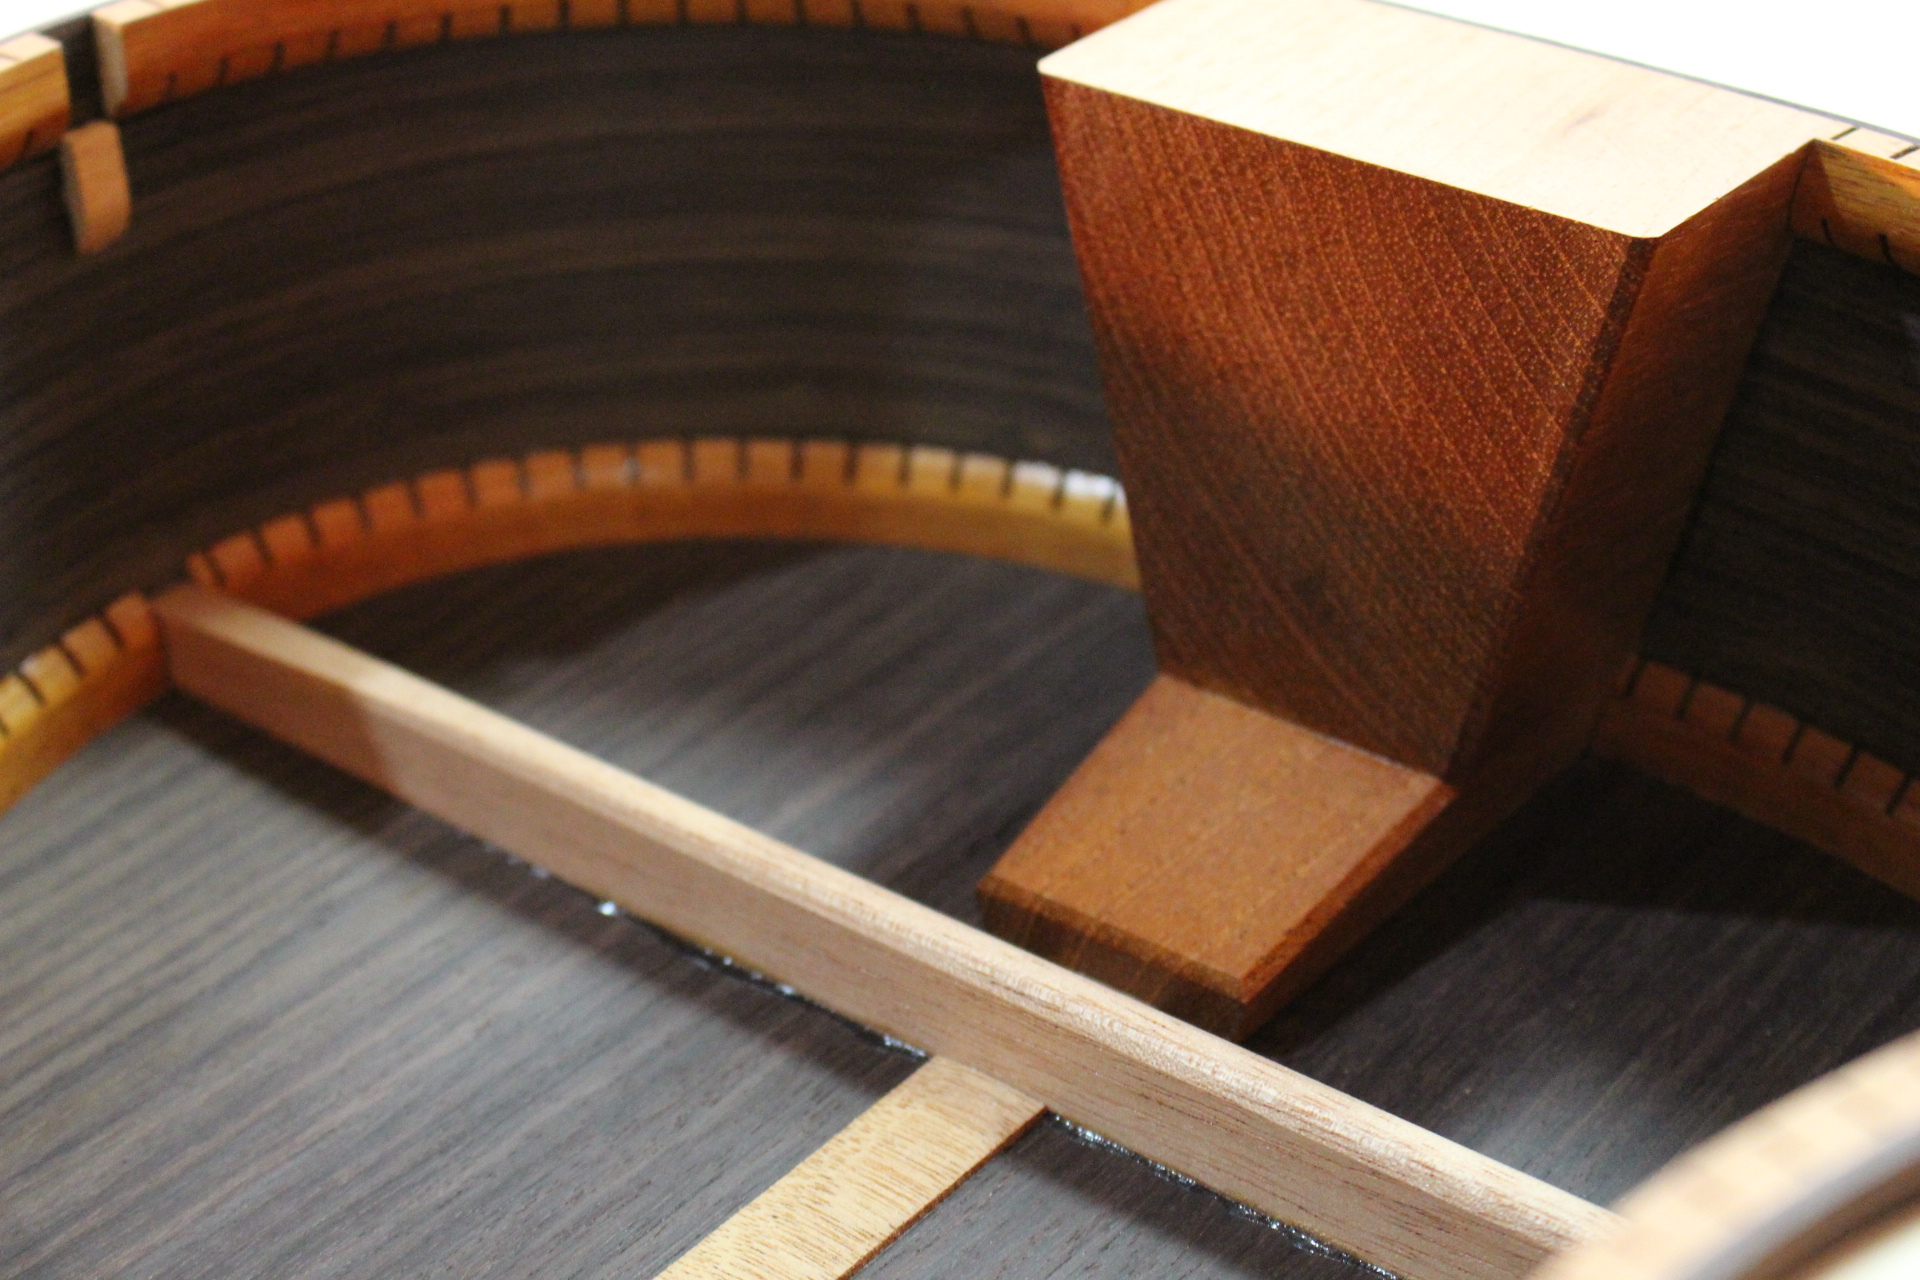
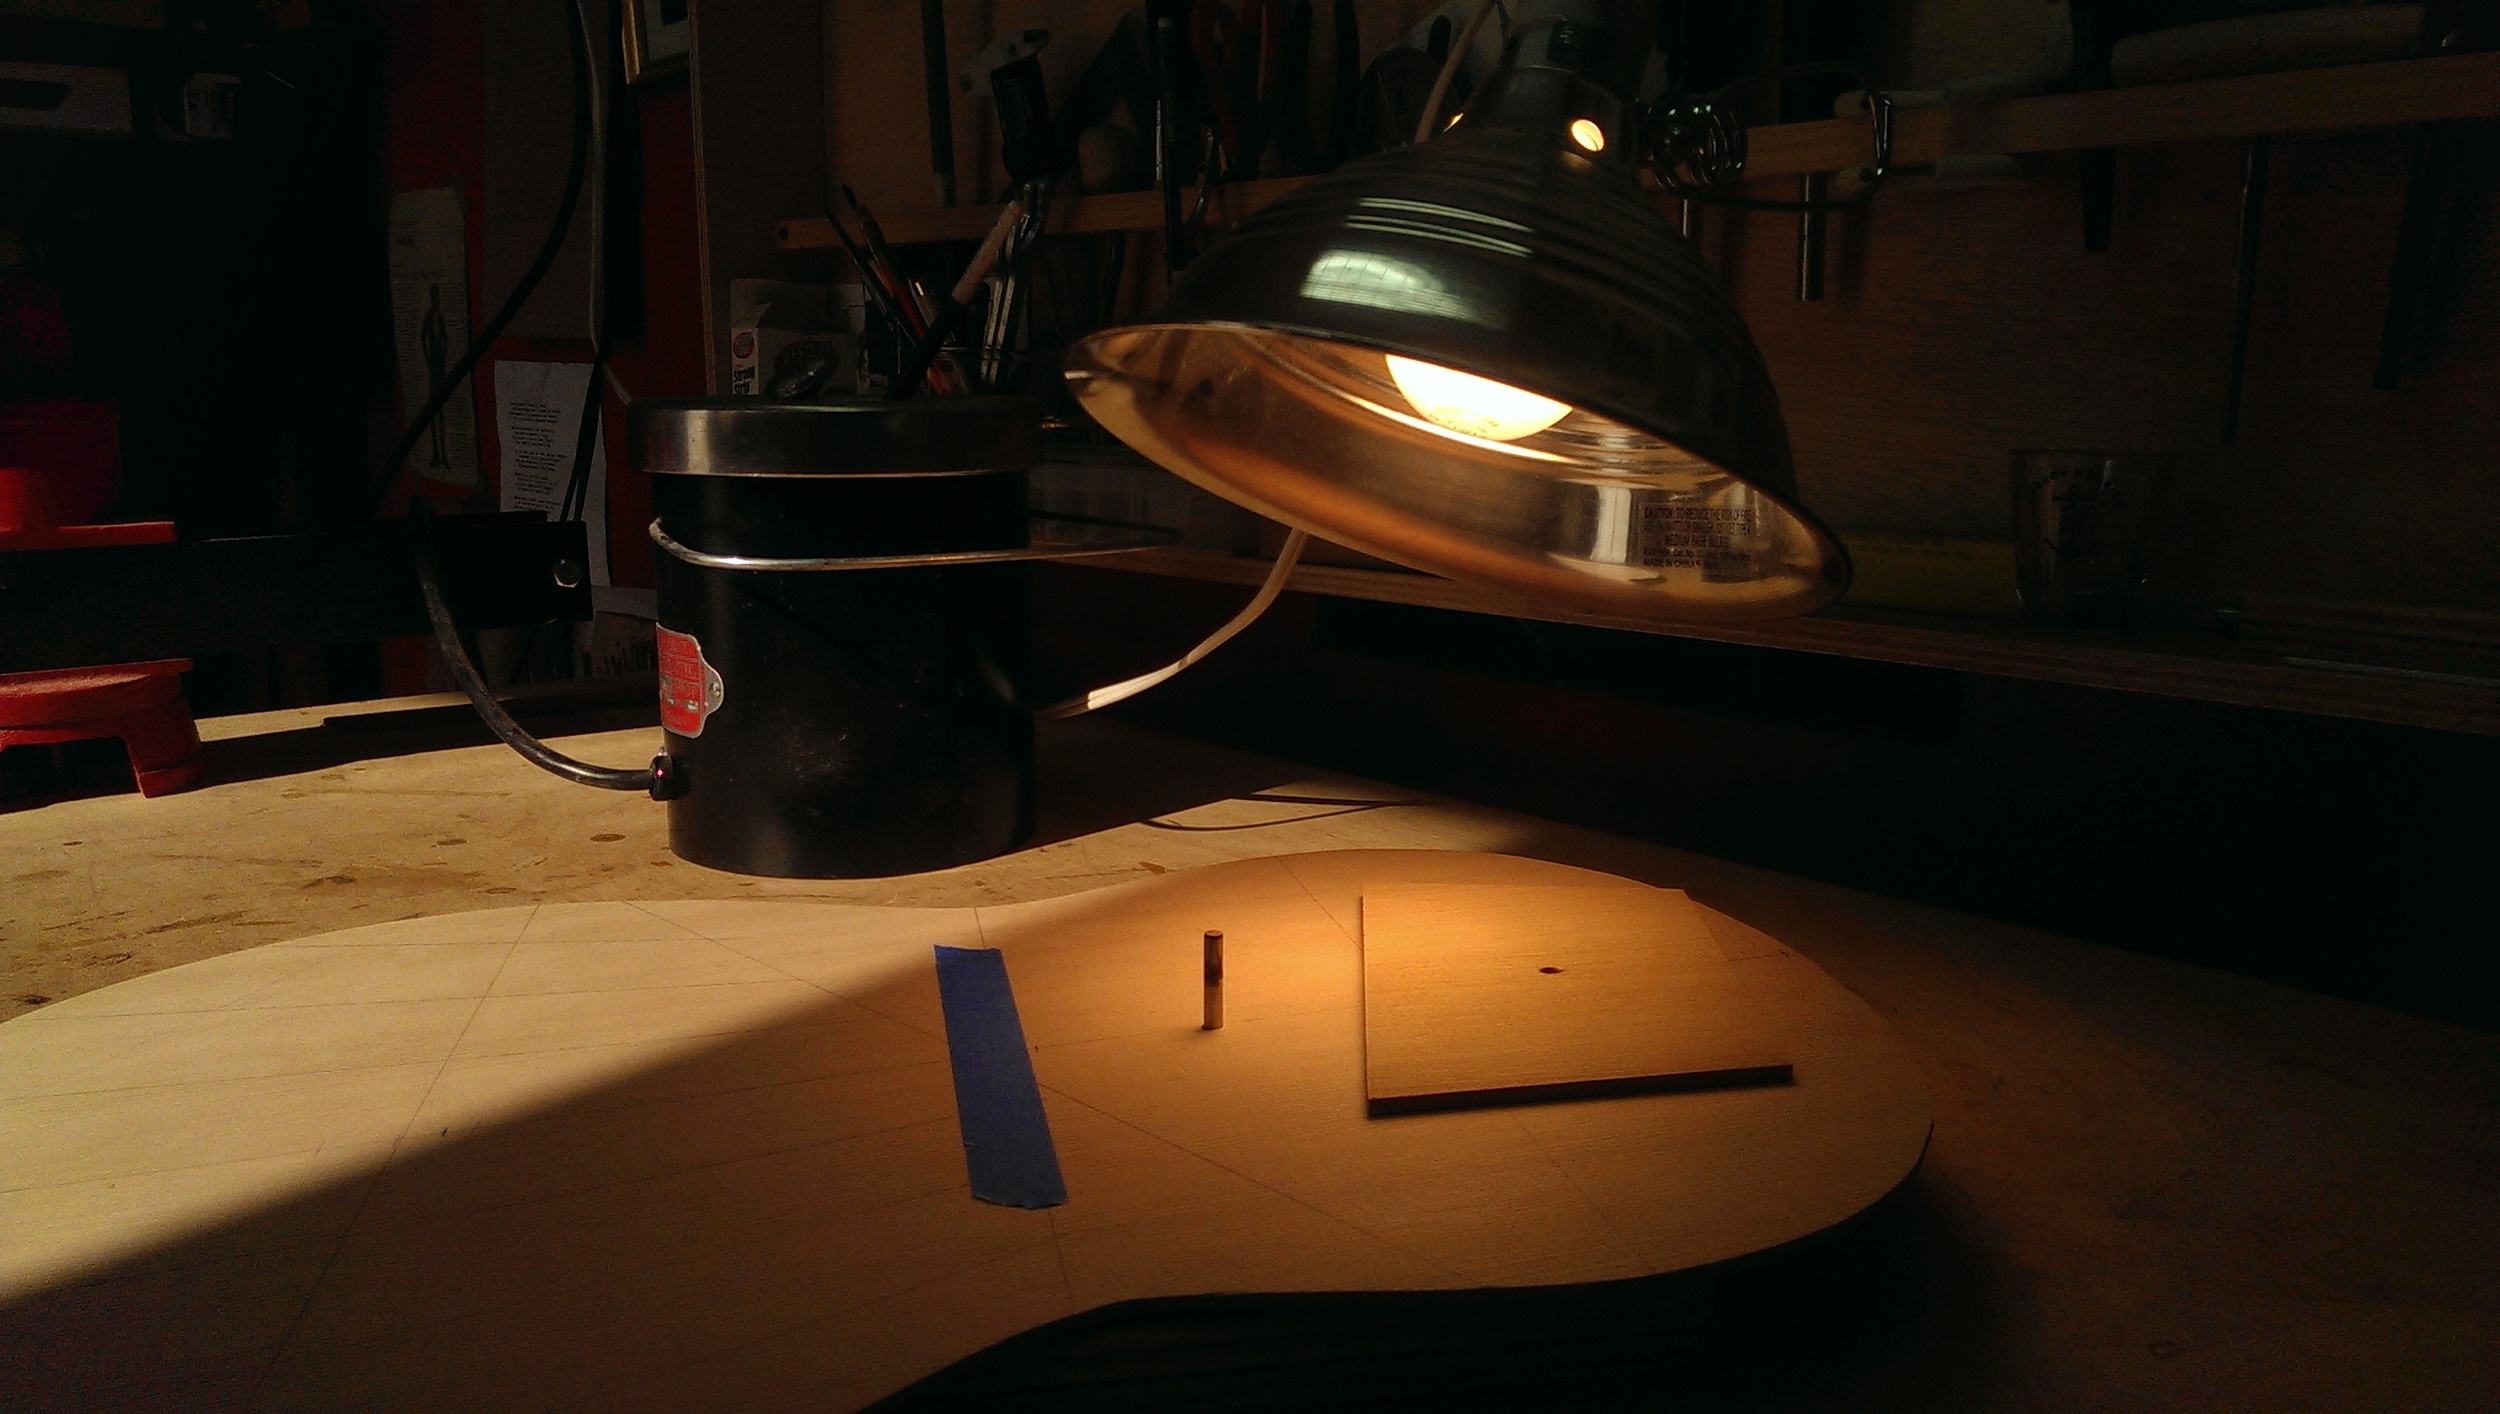
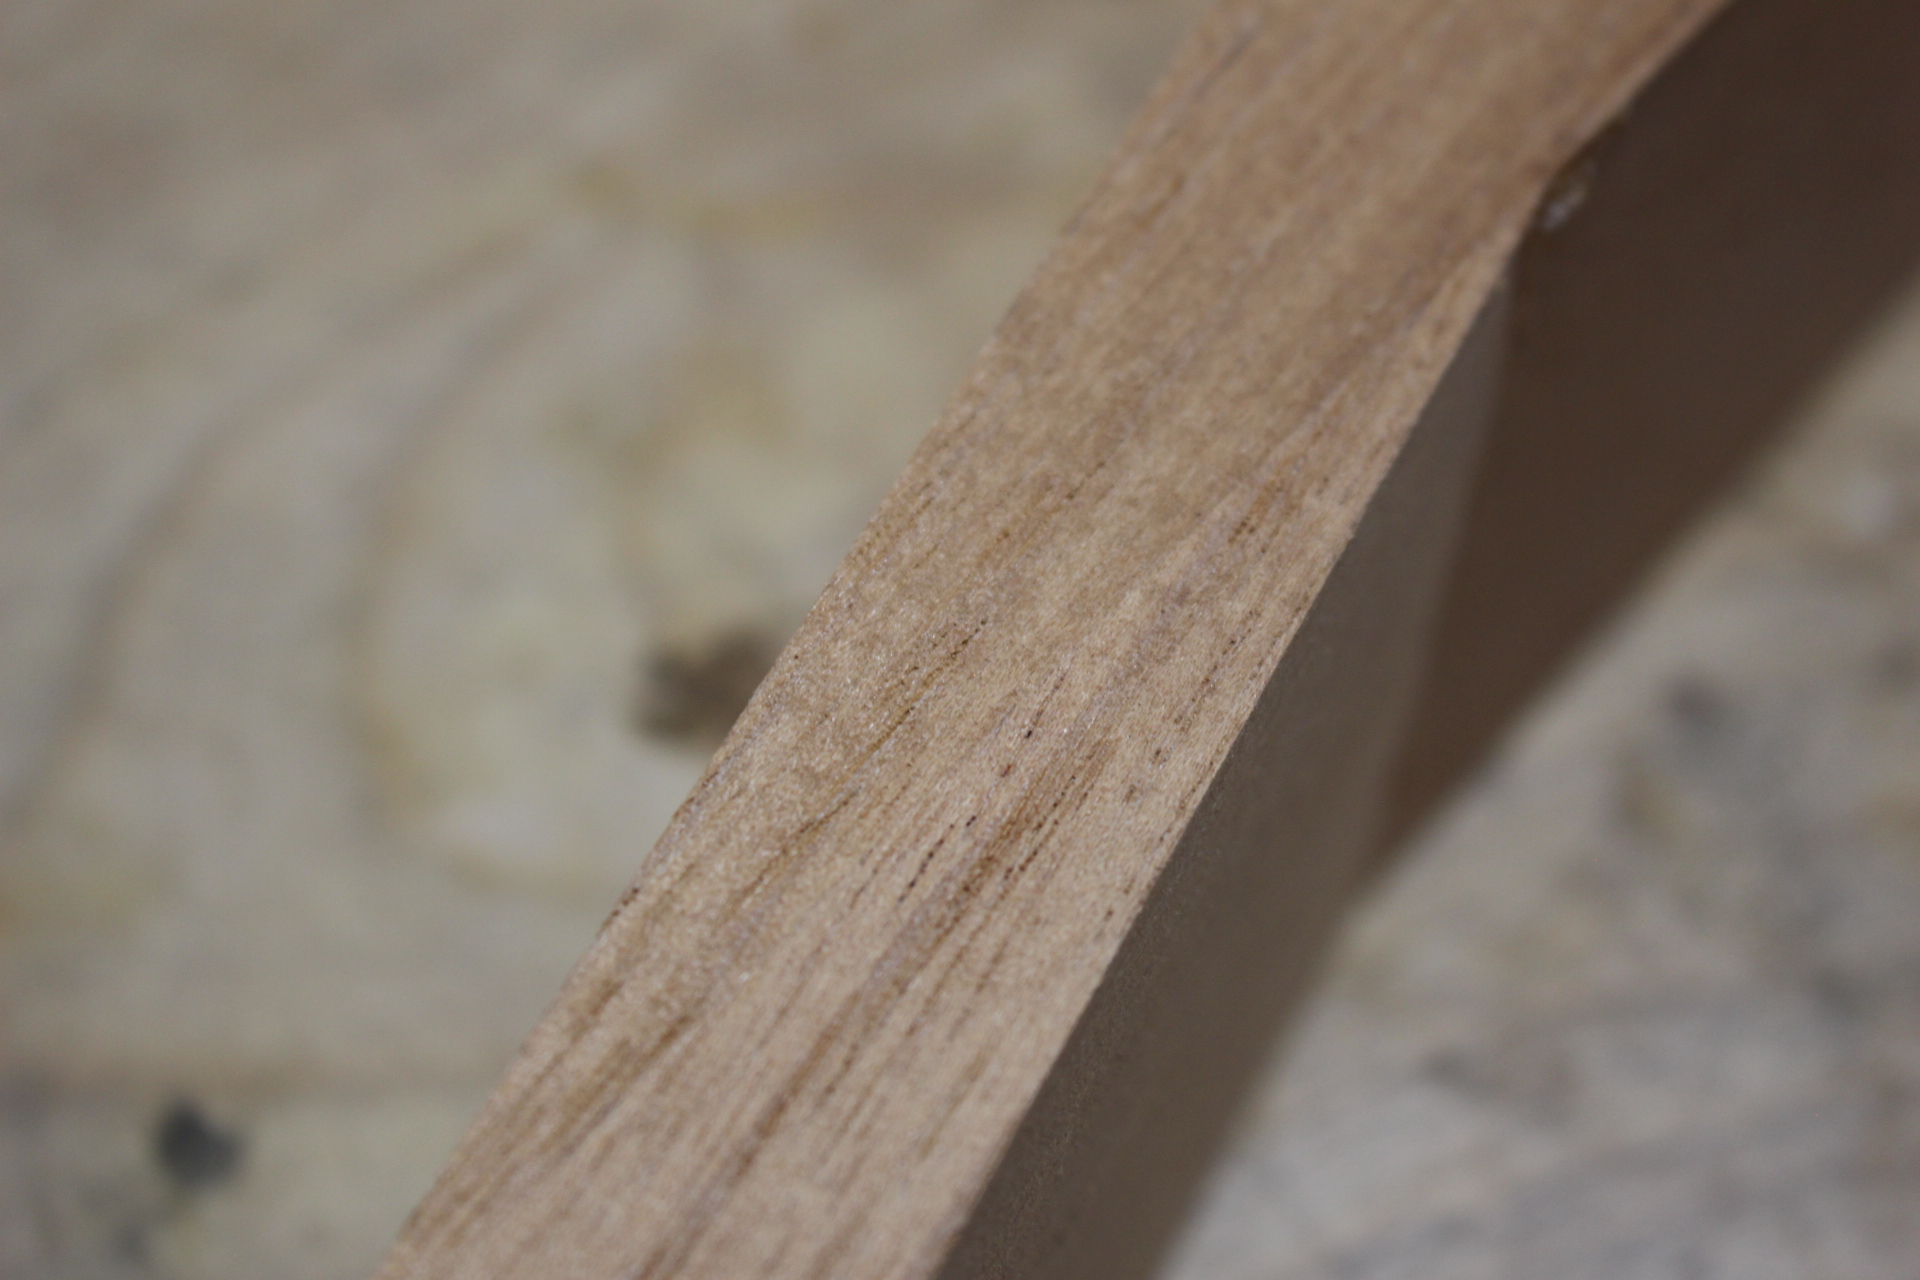
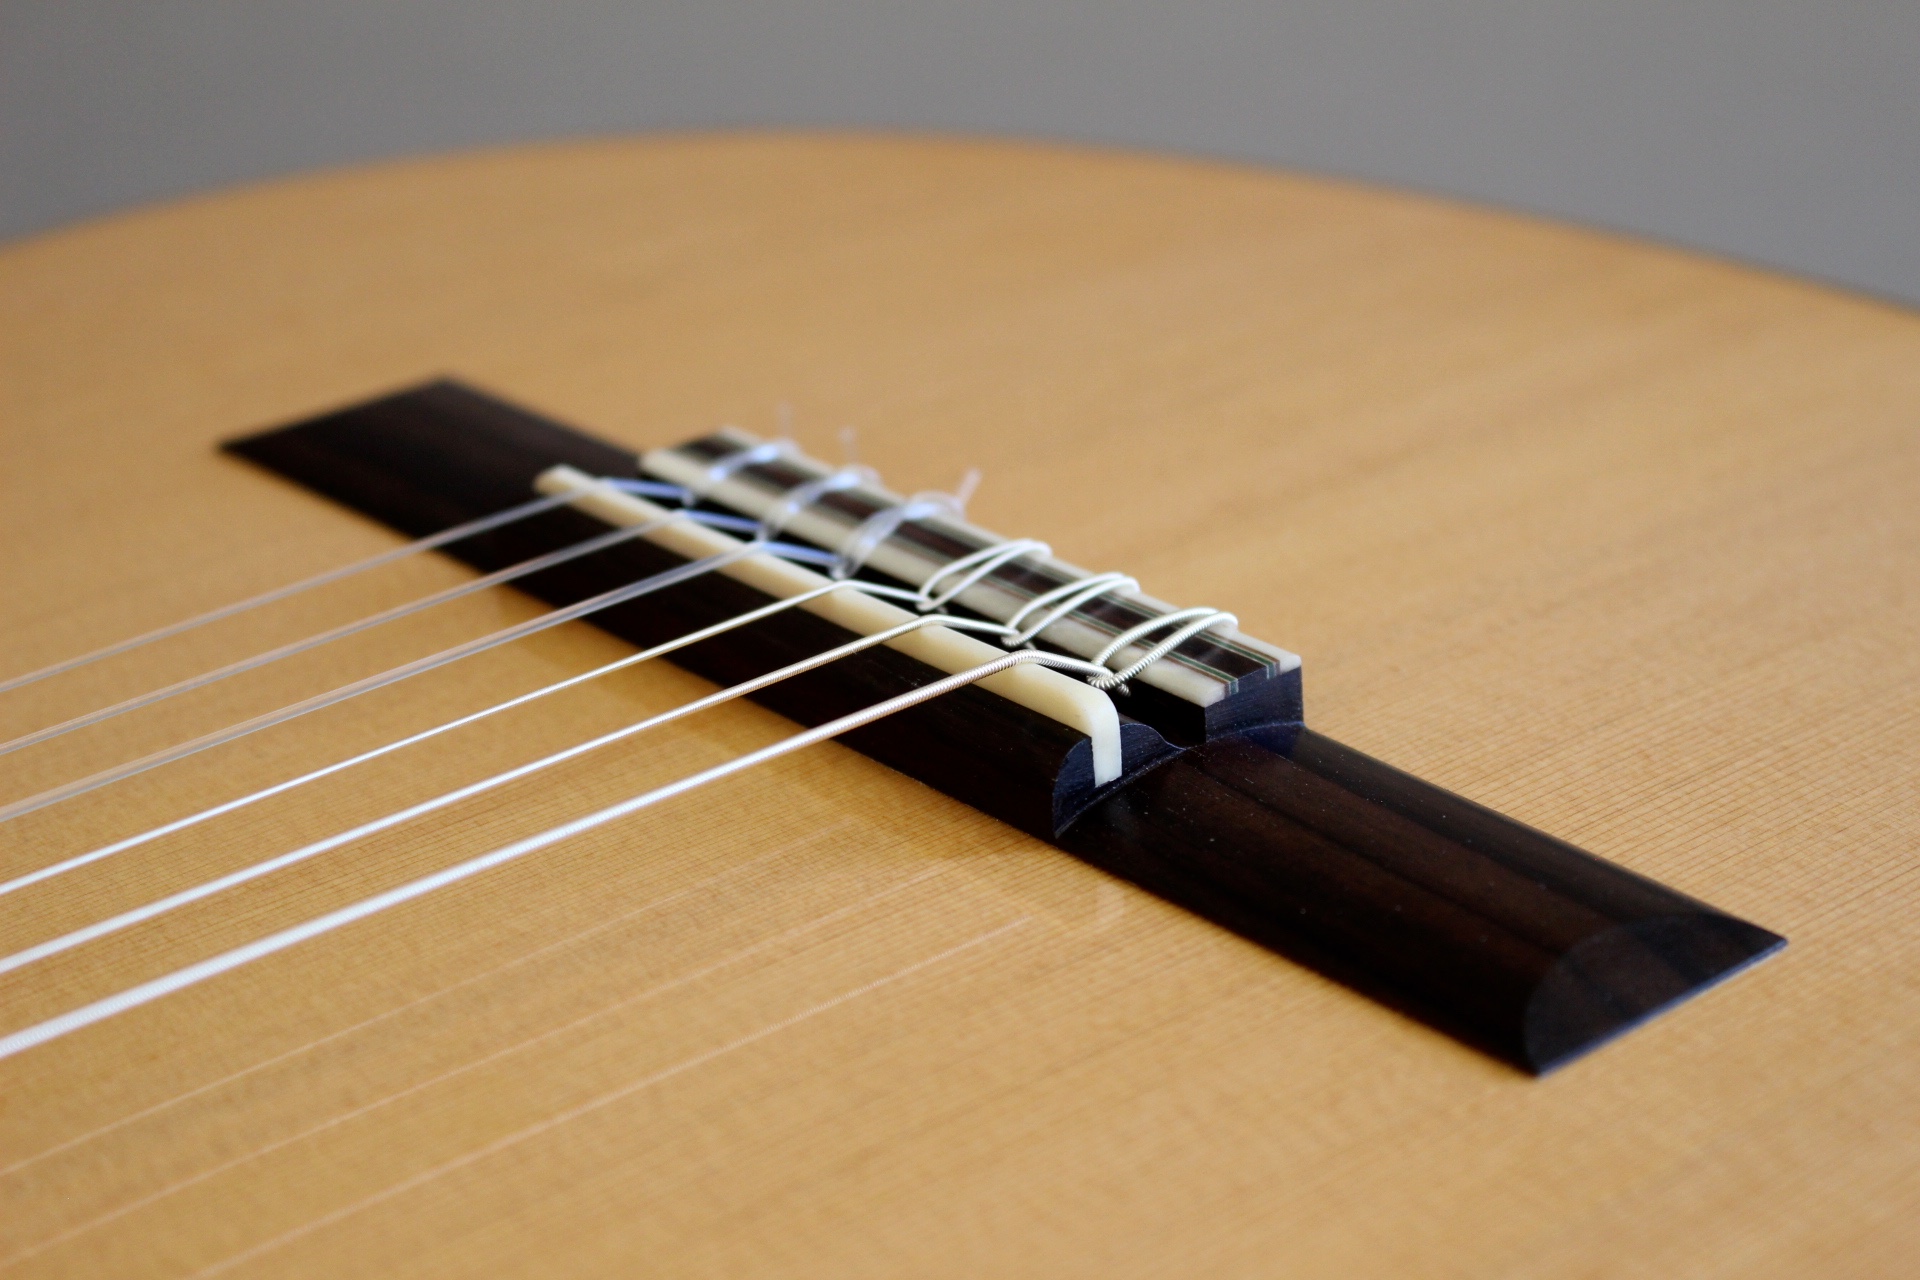
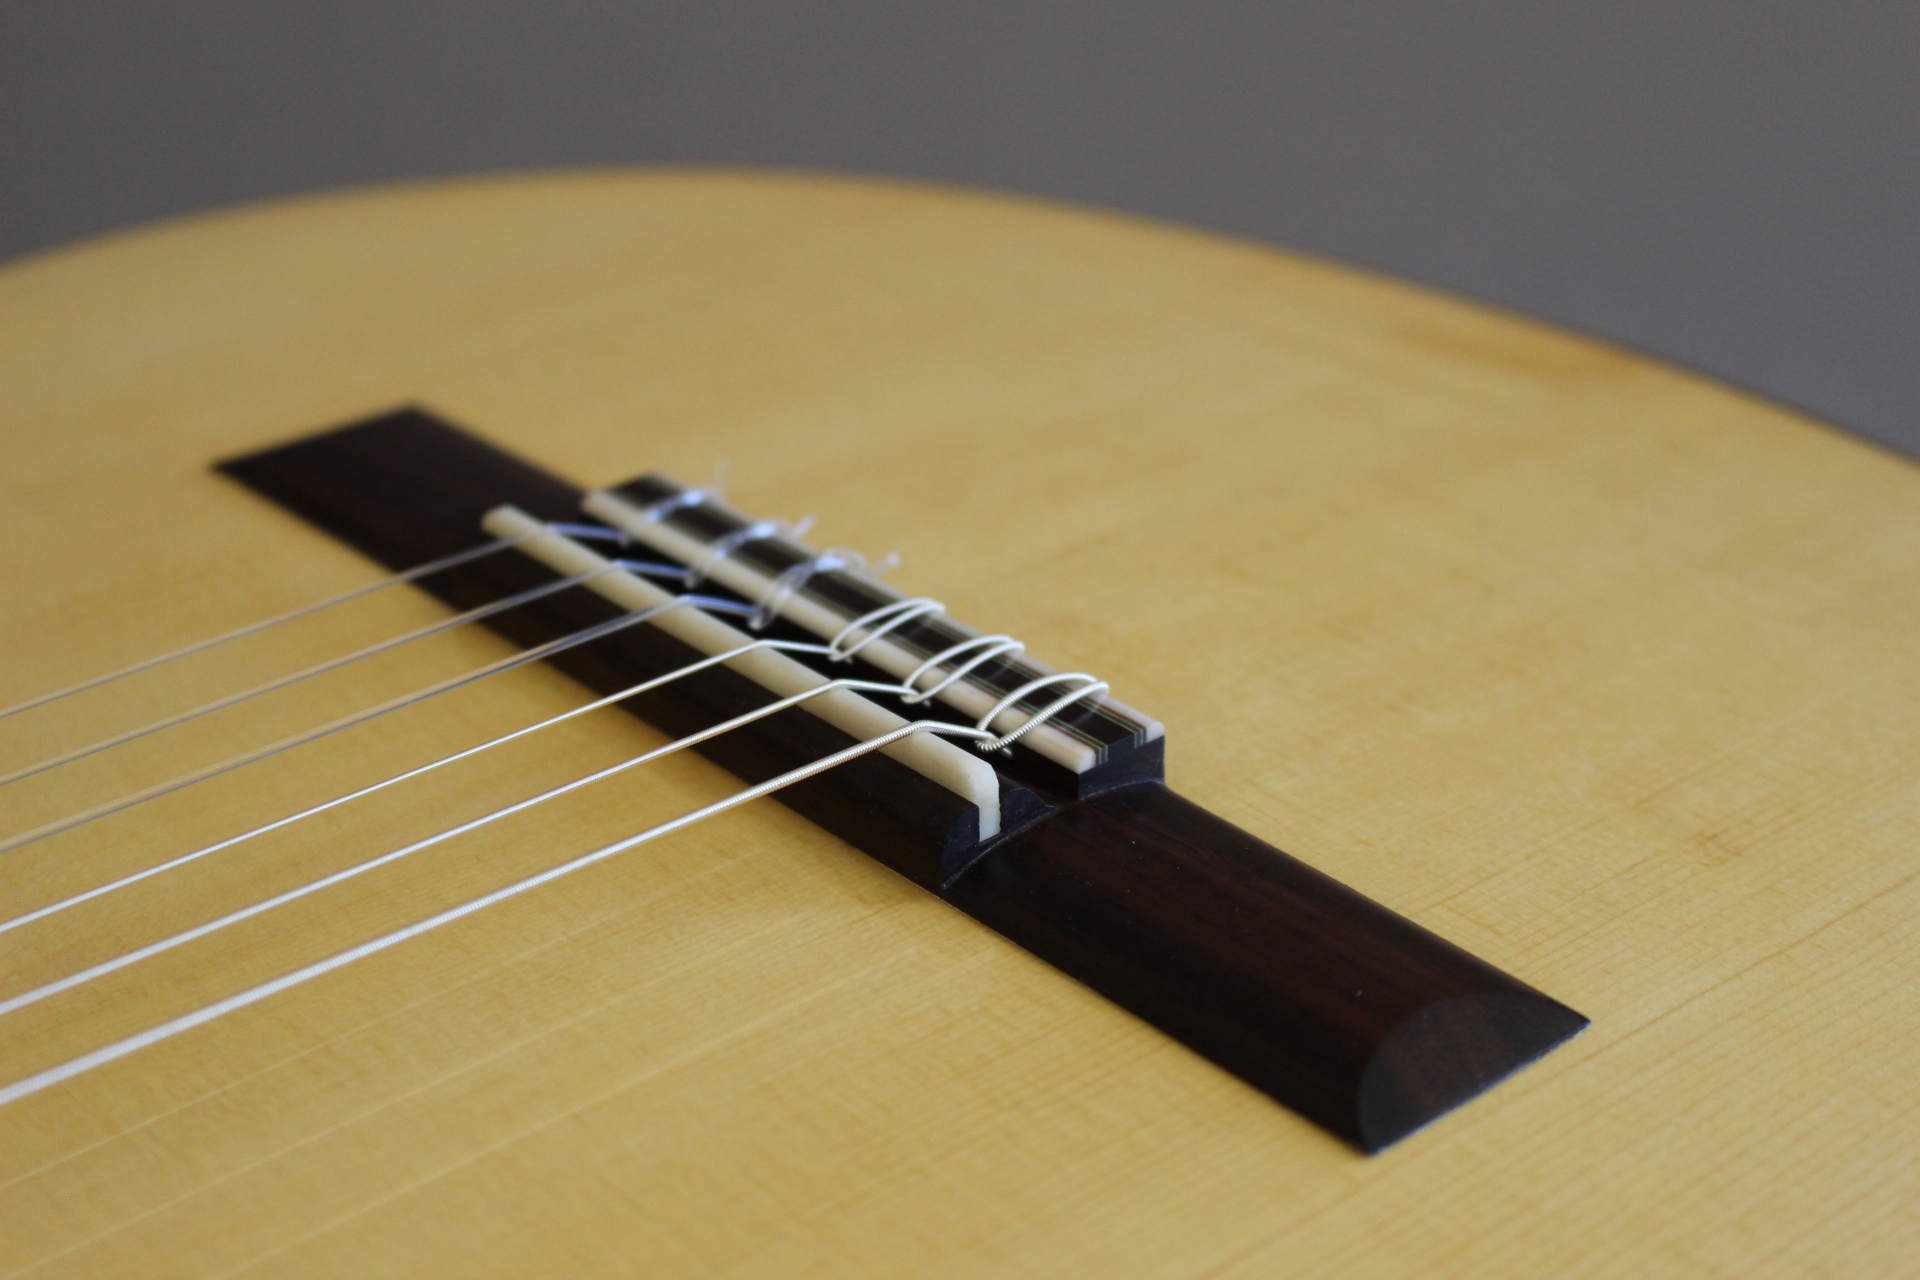
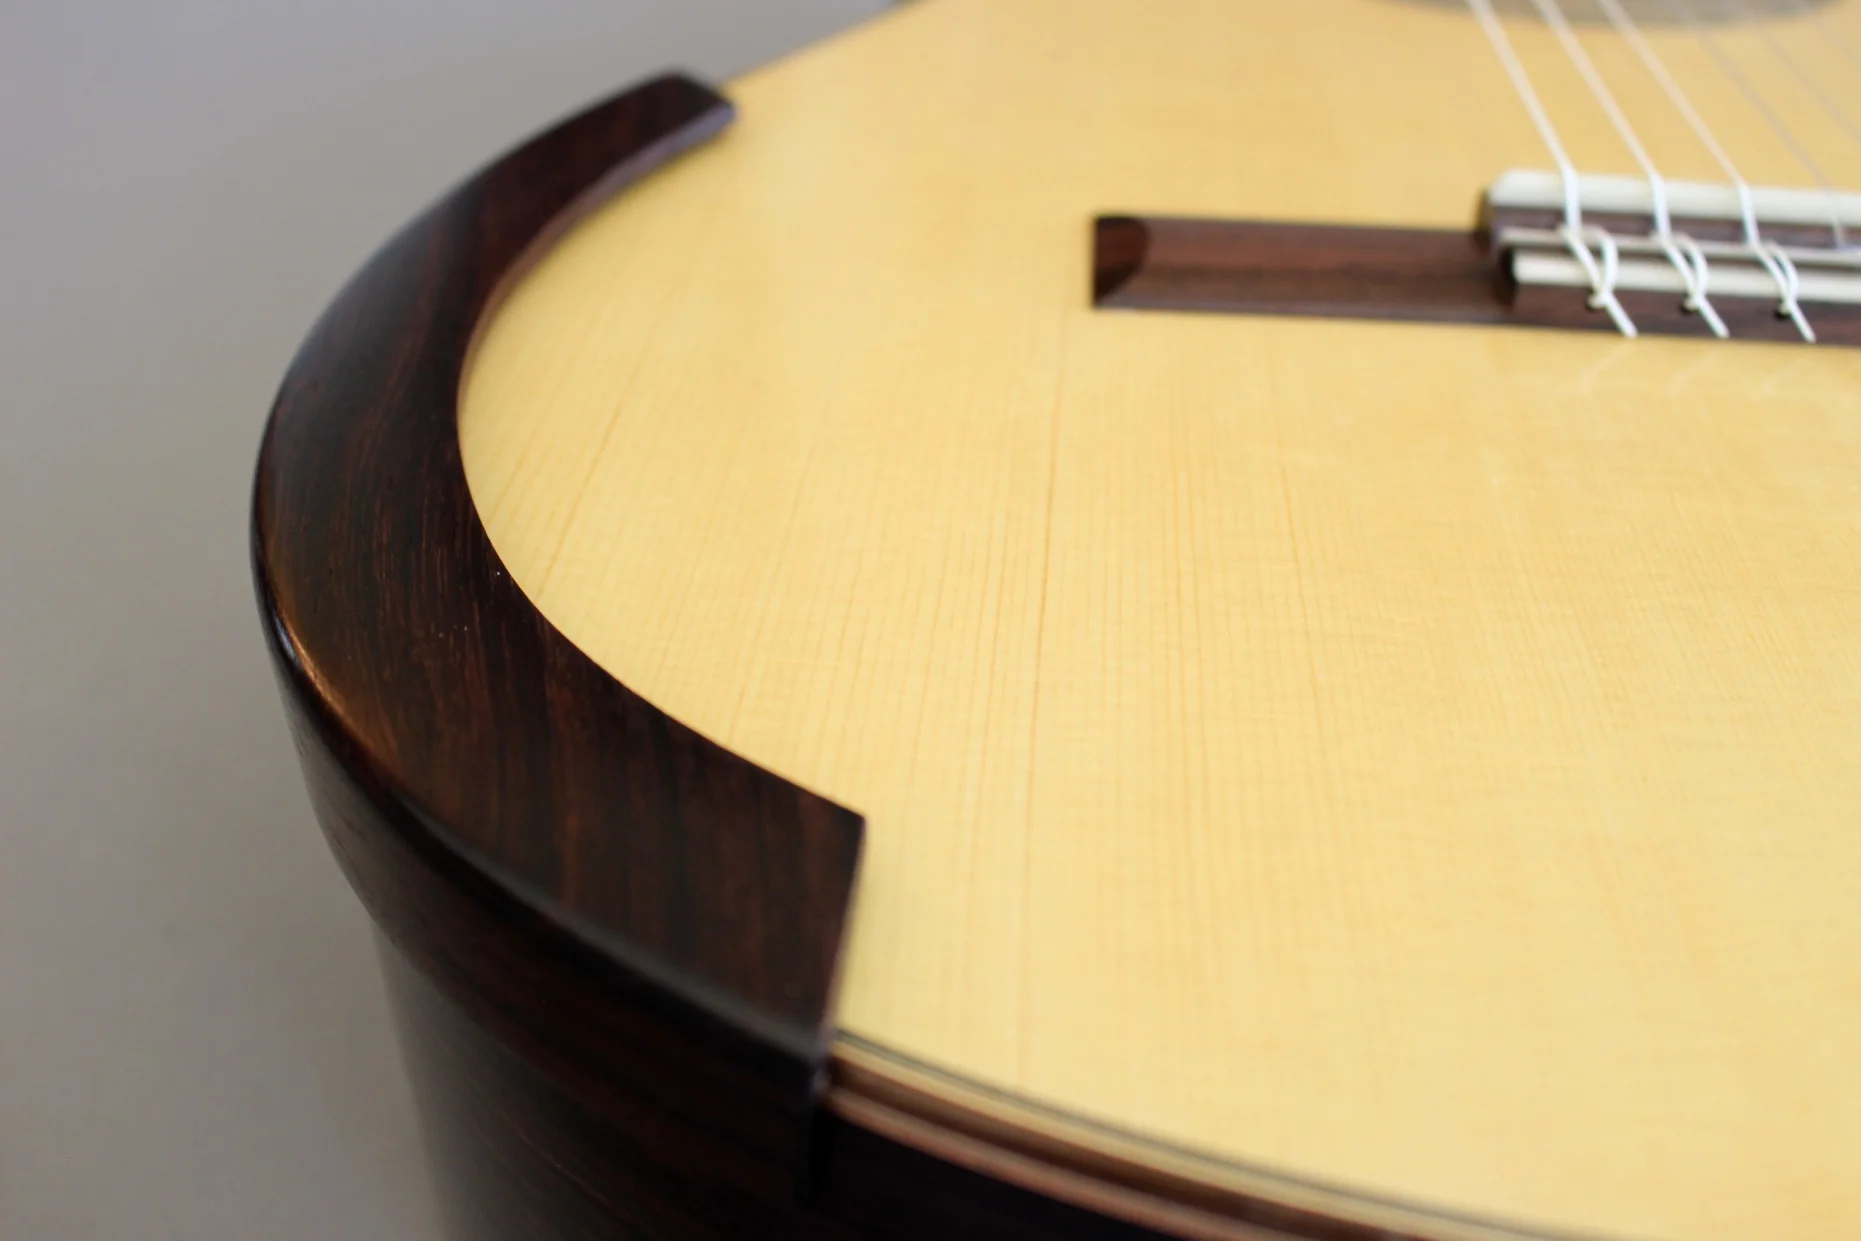
The first photo here is of a sound hole reinforcement patch prior to being glued on. I keep things warm for the glue using a this lamp. This allows for a slightly longer open time and better adhesion. The following two photos are of a bridge for the newest cedar guitar. I've gone back and forth on the little lip behind the tie-block, but I've decided that I like it. The fourth photo is a scarf joint post glue-up; with hide glue and a clean joint, the glue lines are almost imperceptible.
I also spent some time this weekend recording local guitarist and Suzuki guitar instructor Robert Vierschilling playing on a number of guitars from the showroom at the Rosewood Guitar Shop including one of my own. I've posted two below, but for the rest, visit the Rosewood Guitar's Youtube page.
And lastly, here is a picture of the bridge on a 1969 Ramirez 1a that someone altered to lower the saddle and presumably reduce it weight. Bad idea! Don't do this/let people do this to your guitar!!


Rosette making, Lute Strings, Frets and Peg Compound
It always feels like a bit of a chore to switch gears from finishing to building all over again, but it must be done.
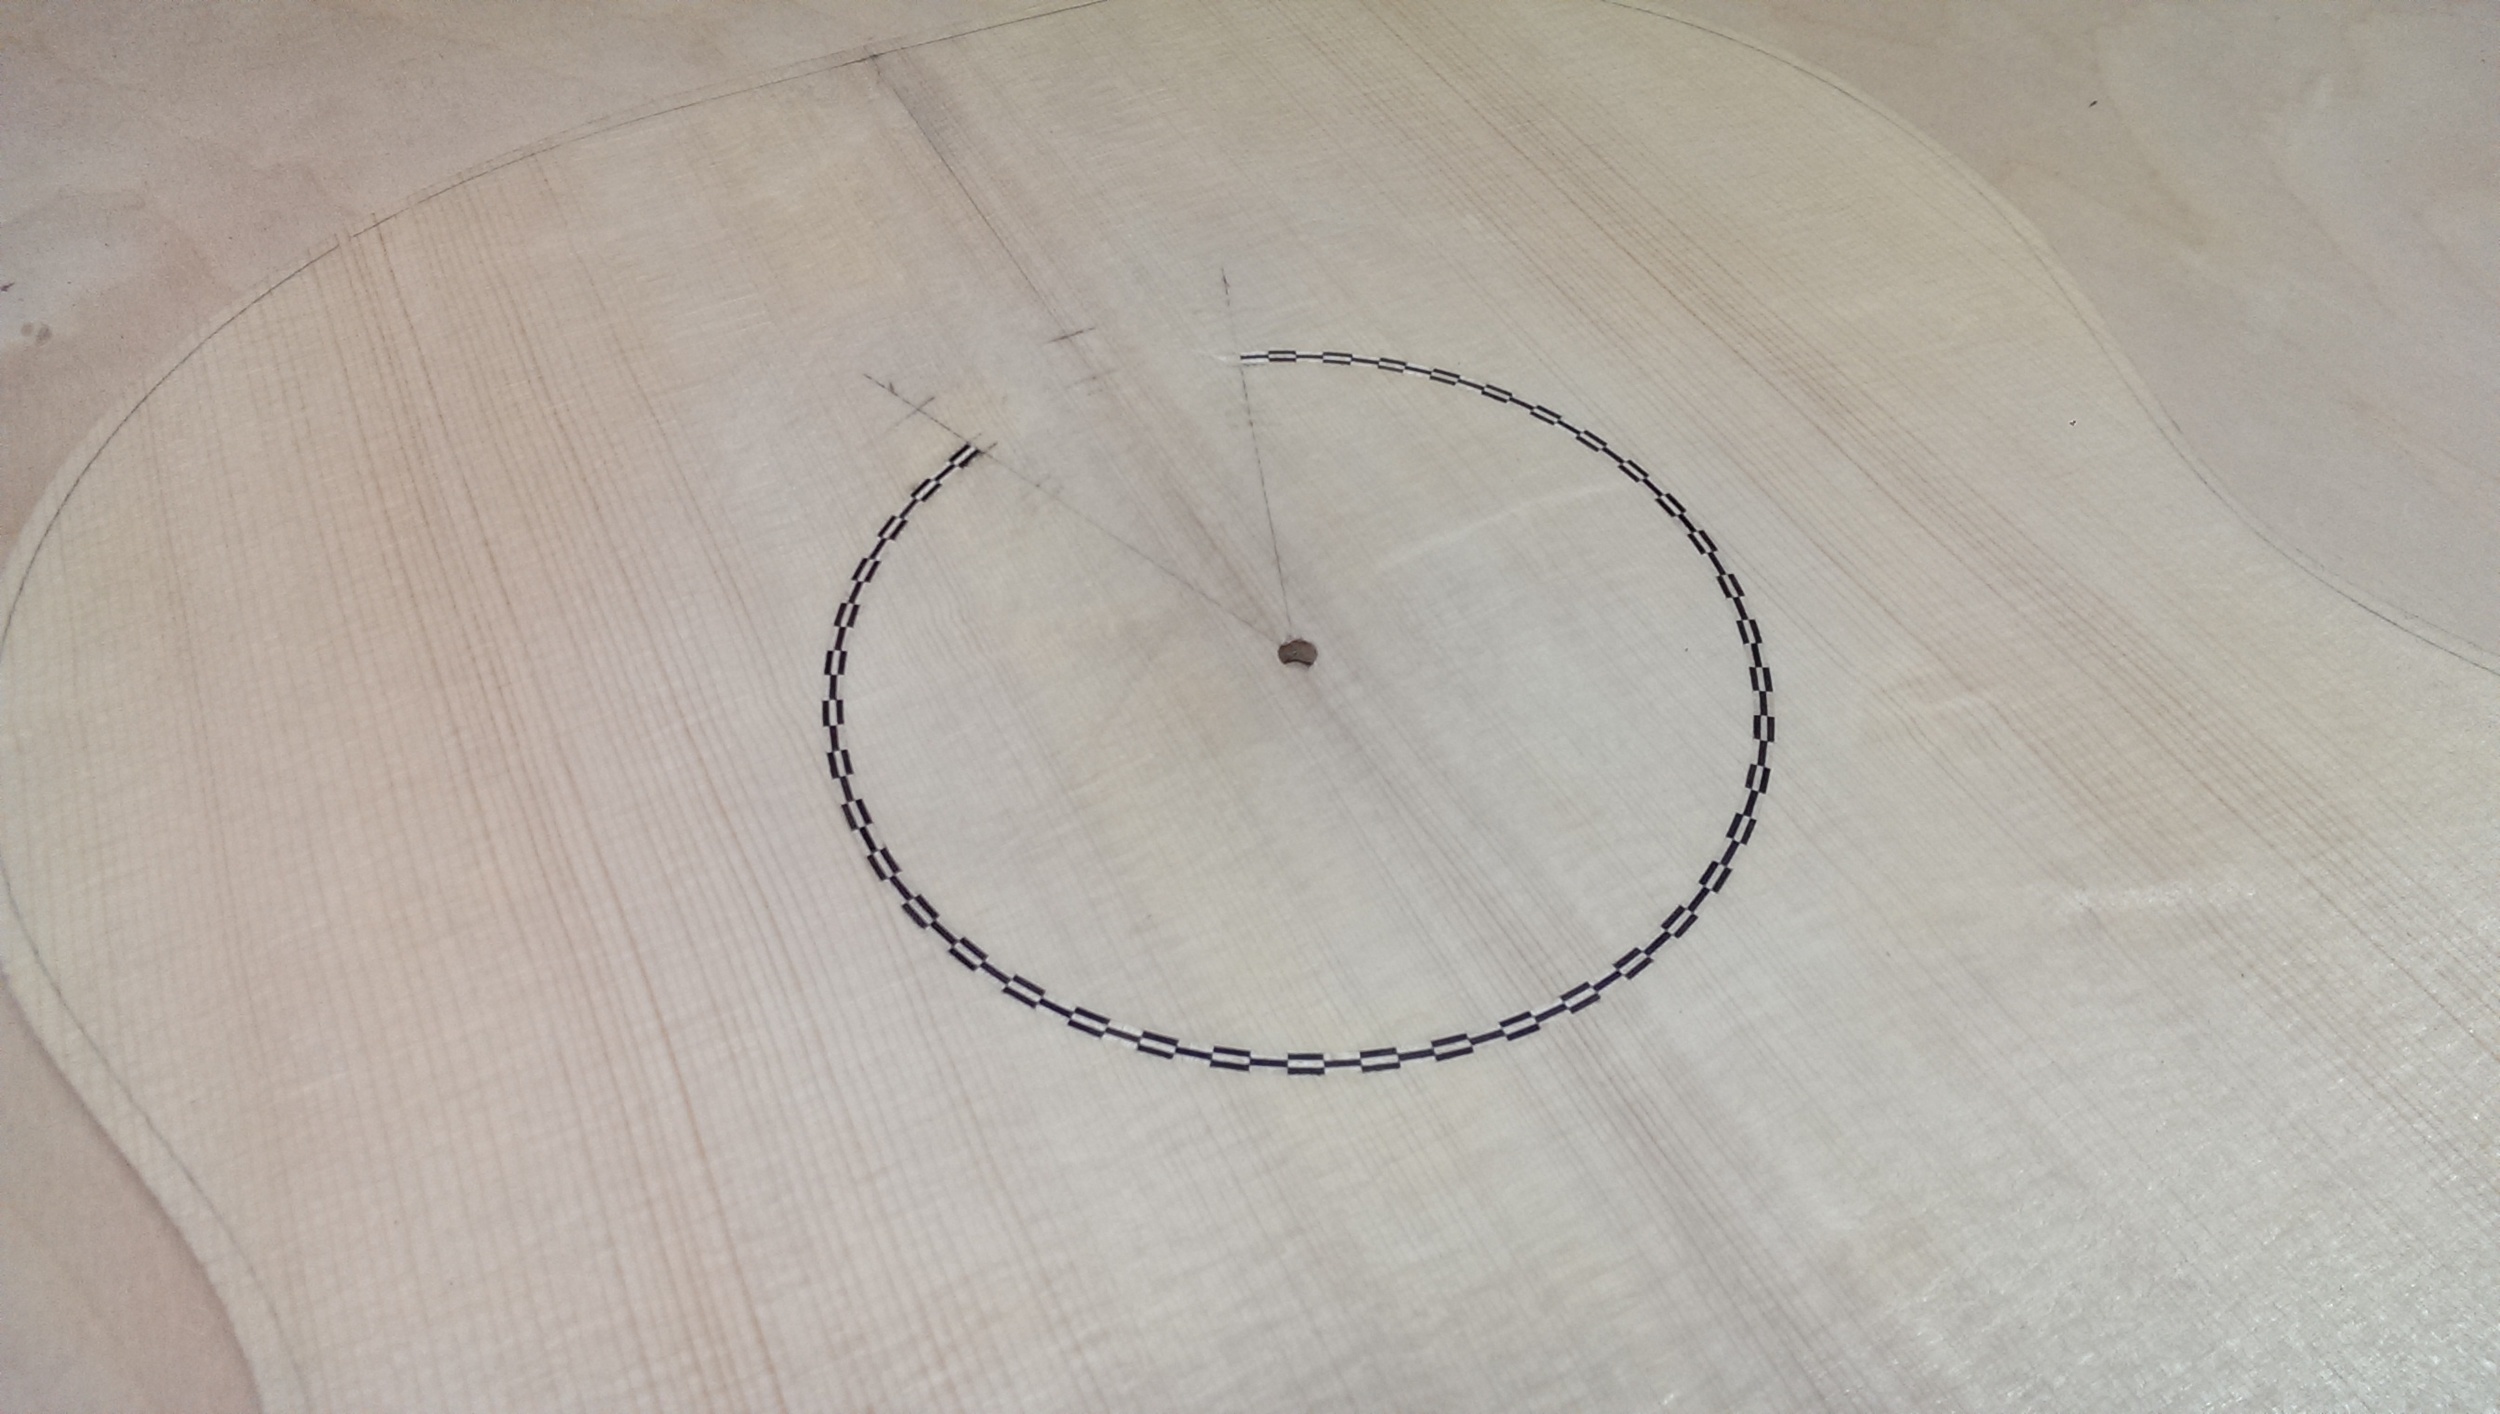
Today, I started making up more mosaic tiles for my standard rosettes and thought that it would be nice to document and explain the process more thoroughly and in a linear manner. I use a combination of black walnut and maple in my mosaic. It's a play on the old cross motif used by Antonio de Torres, but probably more commonly associated with Hermann Hauser and perhaps Manuel Velasquez after him. I glue up the logs in a little cam jig that I made and then slice them on the band saw or with a small razor saw. The subsequent tiles are fit and then glued into a channel in the soundboard. The outer bands of the rosette are made with various thicknesses of walnut, Spanish cedar, maple and dyed veneers. I make my herringbone purfling by laying up thirty-some different strips of veneer, cutting them at an angle, gluing them back together, cutting, flipping and so-on until I am left with a giant pile of small strips that hopefully last me for a year or so. It is extremely important to to keep these laminated logs square so that the bones of the herringbone motif line up consistently in the end. Finally, the outer rings are bent on a hot iron and then glued into two more channels surrounding the mosaic.
Pictured below that rosette is one taken almost exactly from Antonio de Torres. This rosette is assembled in much the same way, but is surprisingly even more difficult to manage because the individual pieces are smaller and bounce around when you touch them or breath too hard! Likewise, the big mosaic tiles used by many mid to late 20th century builders have many more pixels, but end up being easier to handle because they are larger as a whole.
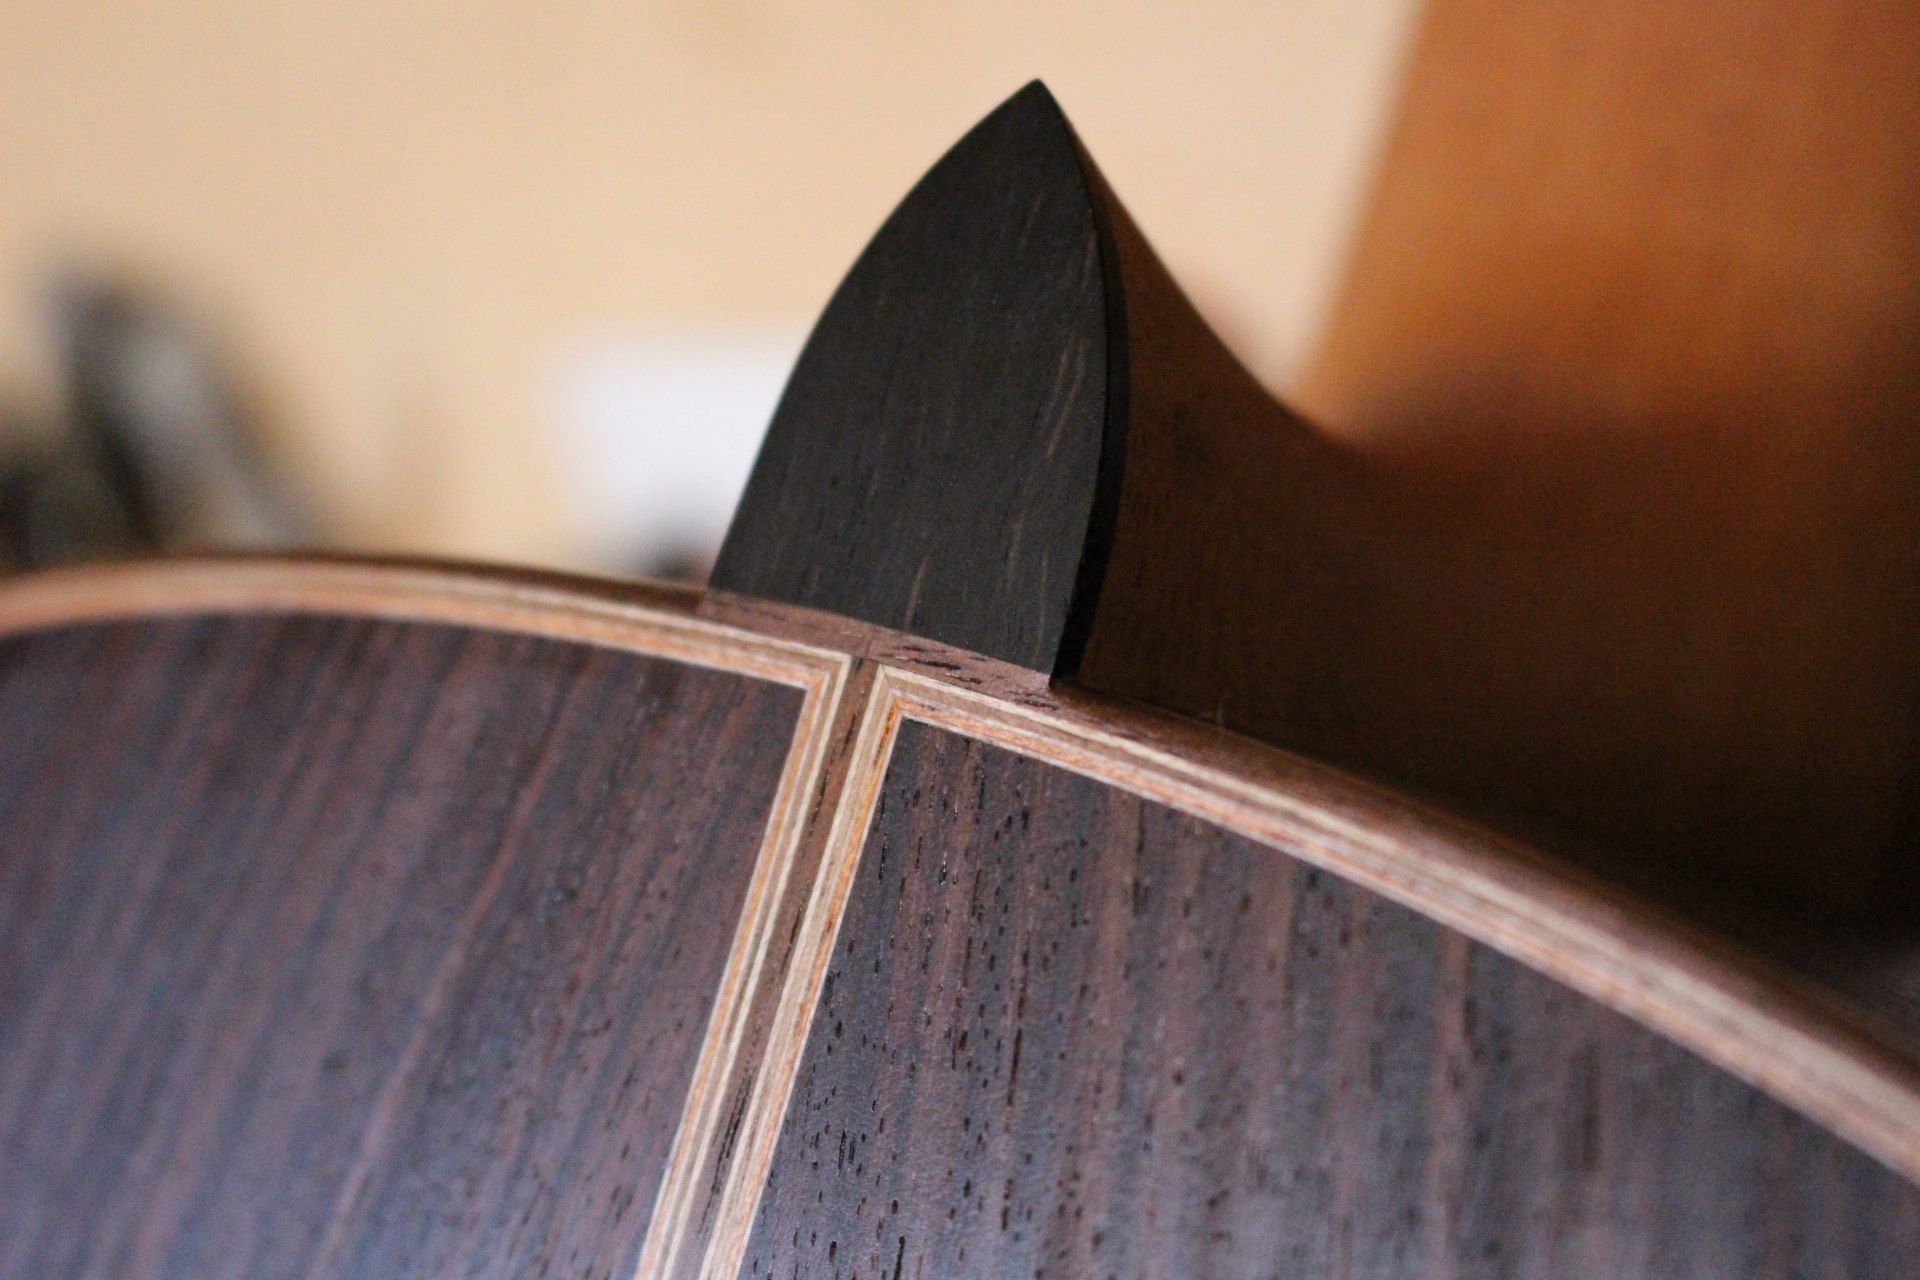
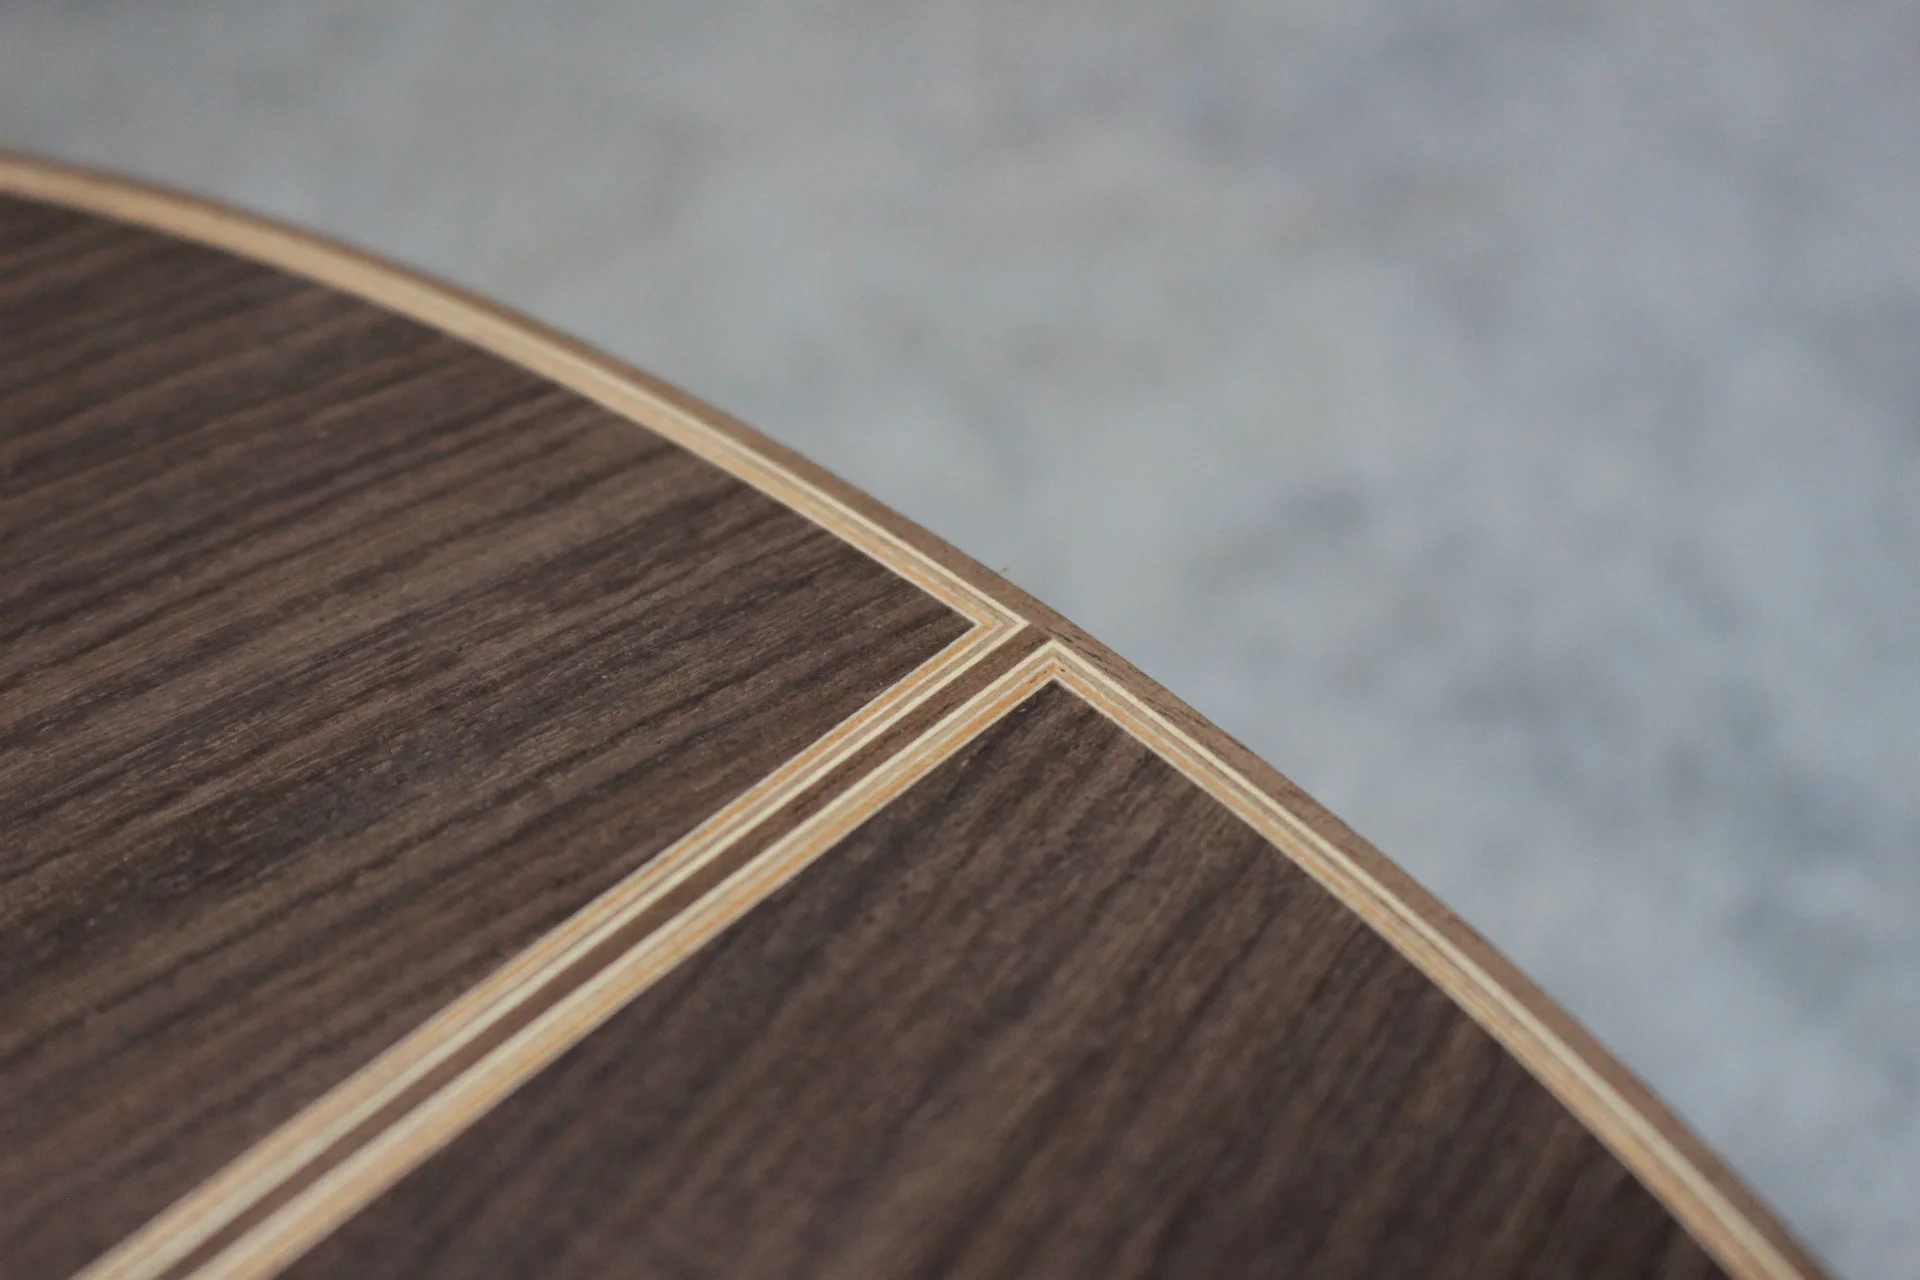
Following all of those photos is one of my back and side purflings meeting in miter joints that I take great care to fit accurately. The combination of walnut and Spanish cedar fits in thematically with my rosette.
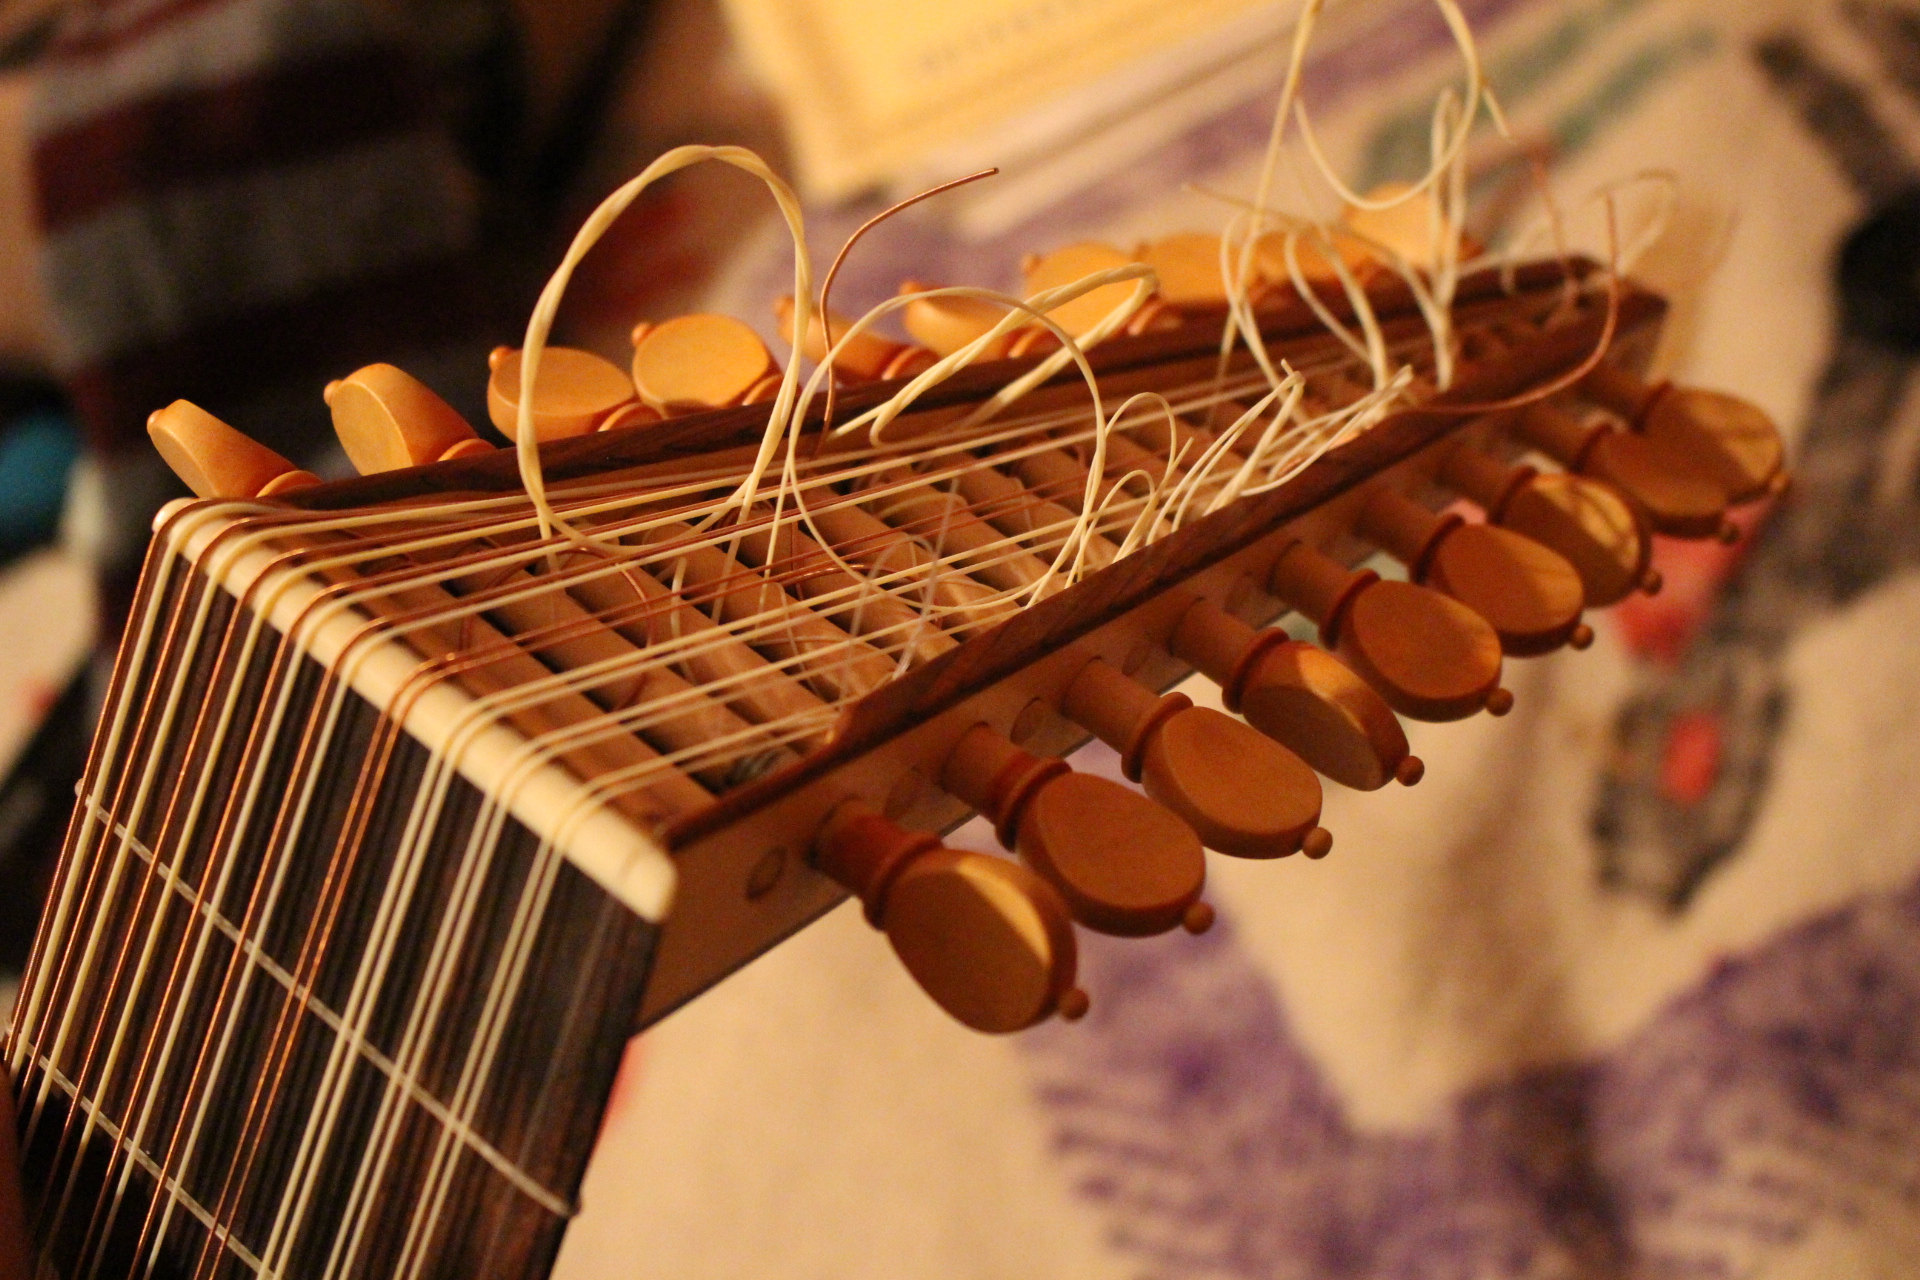
In other news, I finally put new strings and frets on the lute that must have been 30 or 40 years old! I ordered them Olav Chris Henriksen at Boston Catlines. He was very helpful and informative. The frets are real gut. I was surprised at how straightforward it is to put them on in general. That being said, the wider diameter (0.105") fret gut can be difficult to manage without accidentally bending unwanted kinks in the fret. It took me a couple tries to get the first fret tied cleanly. The strings are a combination of regular nylon, copper wound nylon and nylgut, which is a relatively denser formulation of nylon meant to better simulate the characteristics of gut. I have also applied peg coumpound or as the English call it, "a composition for pegs which have ceased to run smoothly" to a few of the pegs that were sticking. I was warned to be conservative with its application though as apparently it's easy to go overboard causing the pegs to slip.


Helmholtz, Q and Sound Ports
I went down to Olympia this weekend to visit my old Evergreen State College audio engineering professor Terry Setter; he is also a composer, microphone builder and flamenco guitarist. We talked about music and tried out guitars. I told him about a recent instrument that I made with a sound port and we got on to the subject of Helmholtz frequency and Q. His brief explanation is one of the best and easiest to understand that I have heard, so I thought I might share it:
"As for Q, here's the quick version (and possibly all you'll ever really need to know about it). Any form of resonance has a primary frequency at which it occurs - like "F" in many guitar cavities. However, you can measure how much activity takes place at this primary frequency (often called the "center frequency") and how much occurs on either side of it by comparison - that's why they call the primary frequency the "center frequency", because there's always an effect on both sides of it.
Lets say that a Helmholtz resonator is tuned to 100 Hz. That means that it will amplify a 100HZ tone, but it will also amplify 90HZ and 110HZ. The rate at which its ability to amplify falls off, above and below the center frequency, is called the "Q" of the resonance. In audio, we measure that in dB/octave. So, if the amplification at 100HZ is exactly 12dB higher than it is at 50HZ or 200HZ (the octave below and above the center frequency), then the response of that resonator has a 12dB/octave "shape" when graphed. "Q", scientifically, is the amount of amplification divided by the width of the effected frequencies. So, if a resonator is built to 100HZ, but only effects the frequencies near to either side of 100HZ, it has a high Q factor (a narrow spike when graphed), and if it effects a wide range of frequencies on either side of the center frequency (100HZ in this example) it has a low Q.
Therefore, if putting a port in a guitar lowers the Q of the resonance, that could mean that although the primary resonant frequency is not amplified as much as without the port, a WIDER range of notes IS being amplified, thus smoothing the low frequency response of the instrument across more of its lowest tones. It would be easy to measure, and maybe some builders have written up the results of tests they did with ported bodies."

My general impression of the sound port is that it increases the volume to the player. It didn't seem to increase the volume in front of the guitar at all. If it does, it is by such a small amount that it doesn't really matter. It definitely raised the Helmholtz frequency of the body (by about a semi-tone), but it seemed not to amplify that frequency as much which would make sense bases on Terry's explanation.
Personally, I'm not really a fan of sound ports. I find them to be unnecessary and somewhat confusing. That being said, I understand how some people would find them helpful and I try not to be too much of a curmudgeon about it.
New Guitars Off the Bench
Strung up two new guitars yesterday and I'm very happy with how they turned out. They are both lively, complex and have a wide range of timbres. The one with the elevated fingerboard has a bit more punch to it, whereas the standard model is more traditional sounding... for lack of a better word.
Custom concert model:
- German spruce top
- Indian rosewood back and sides
- Spanish cedar neck with elevated ebony fingerboard
- Sound port, rosewood armrest
- Gotoh premium tuners with ebony buttons
- 640mm scale length
- 52mm nut width
Standard concert model:
- Western red cedar top
- Indian rosewood back and sides
- Ebony fingerboard
- Spanish cedar neck
- Gotoh premium tuners with ebony buttons
- 650mm scale length
- 52mm nut width


In other news, I spent wayyy too long inlaying the center motive of a new Torres rosette taking time to square-up each tile with a little sanding block. Looks great though!

Visesnut Case Review, French Polishing, New Herringbone and Armrest
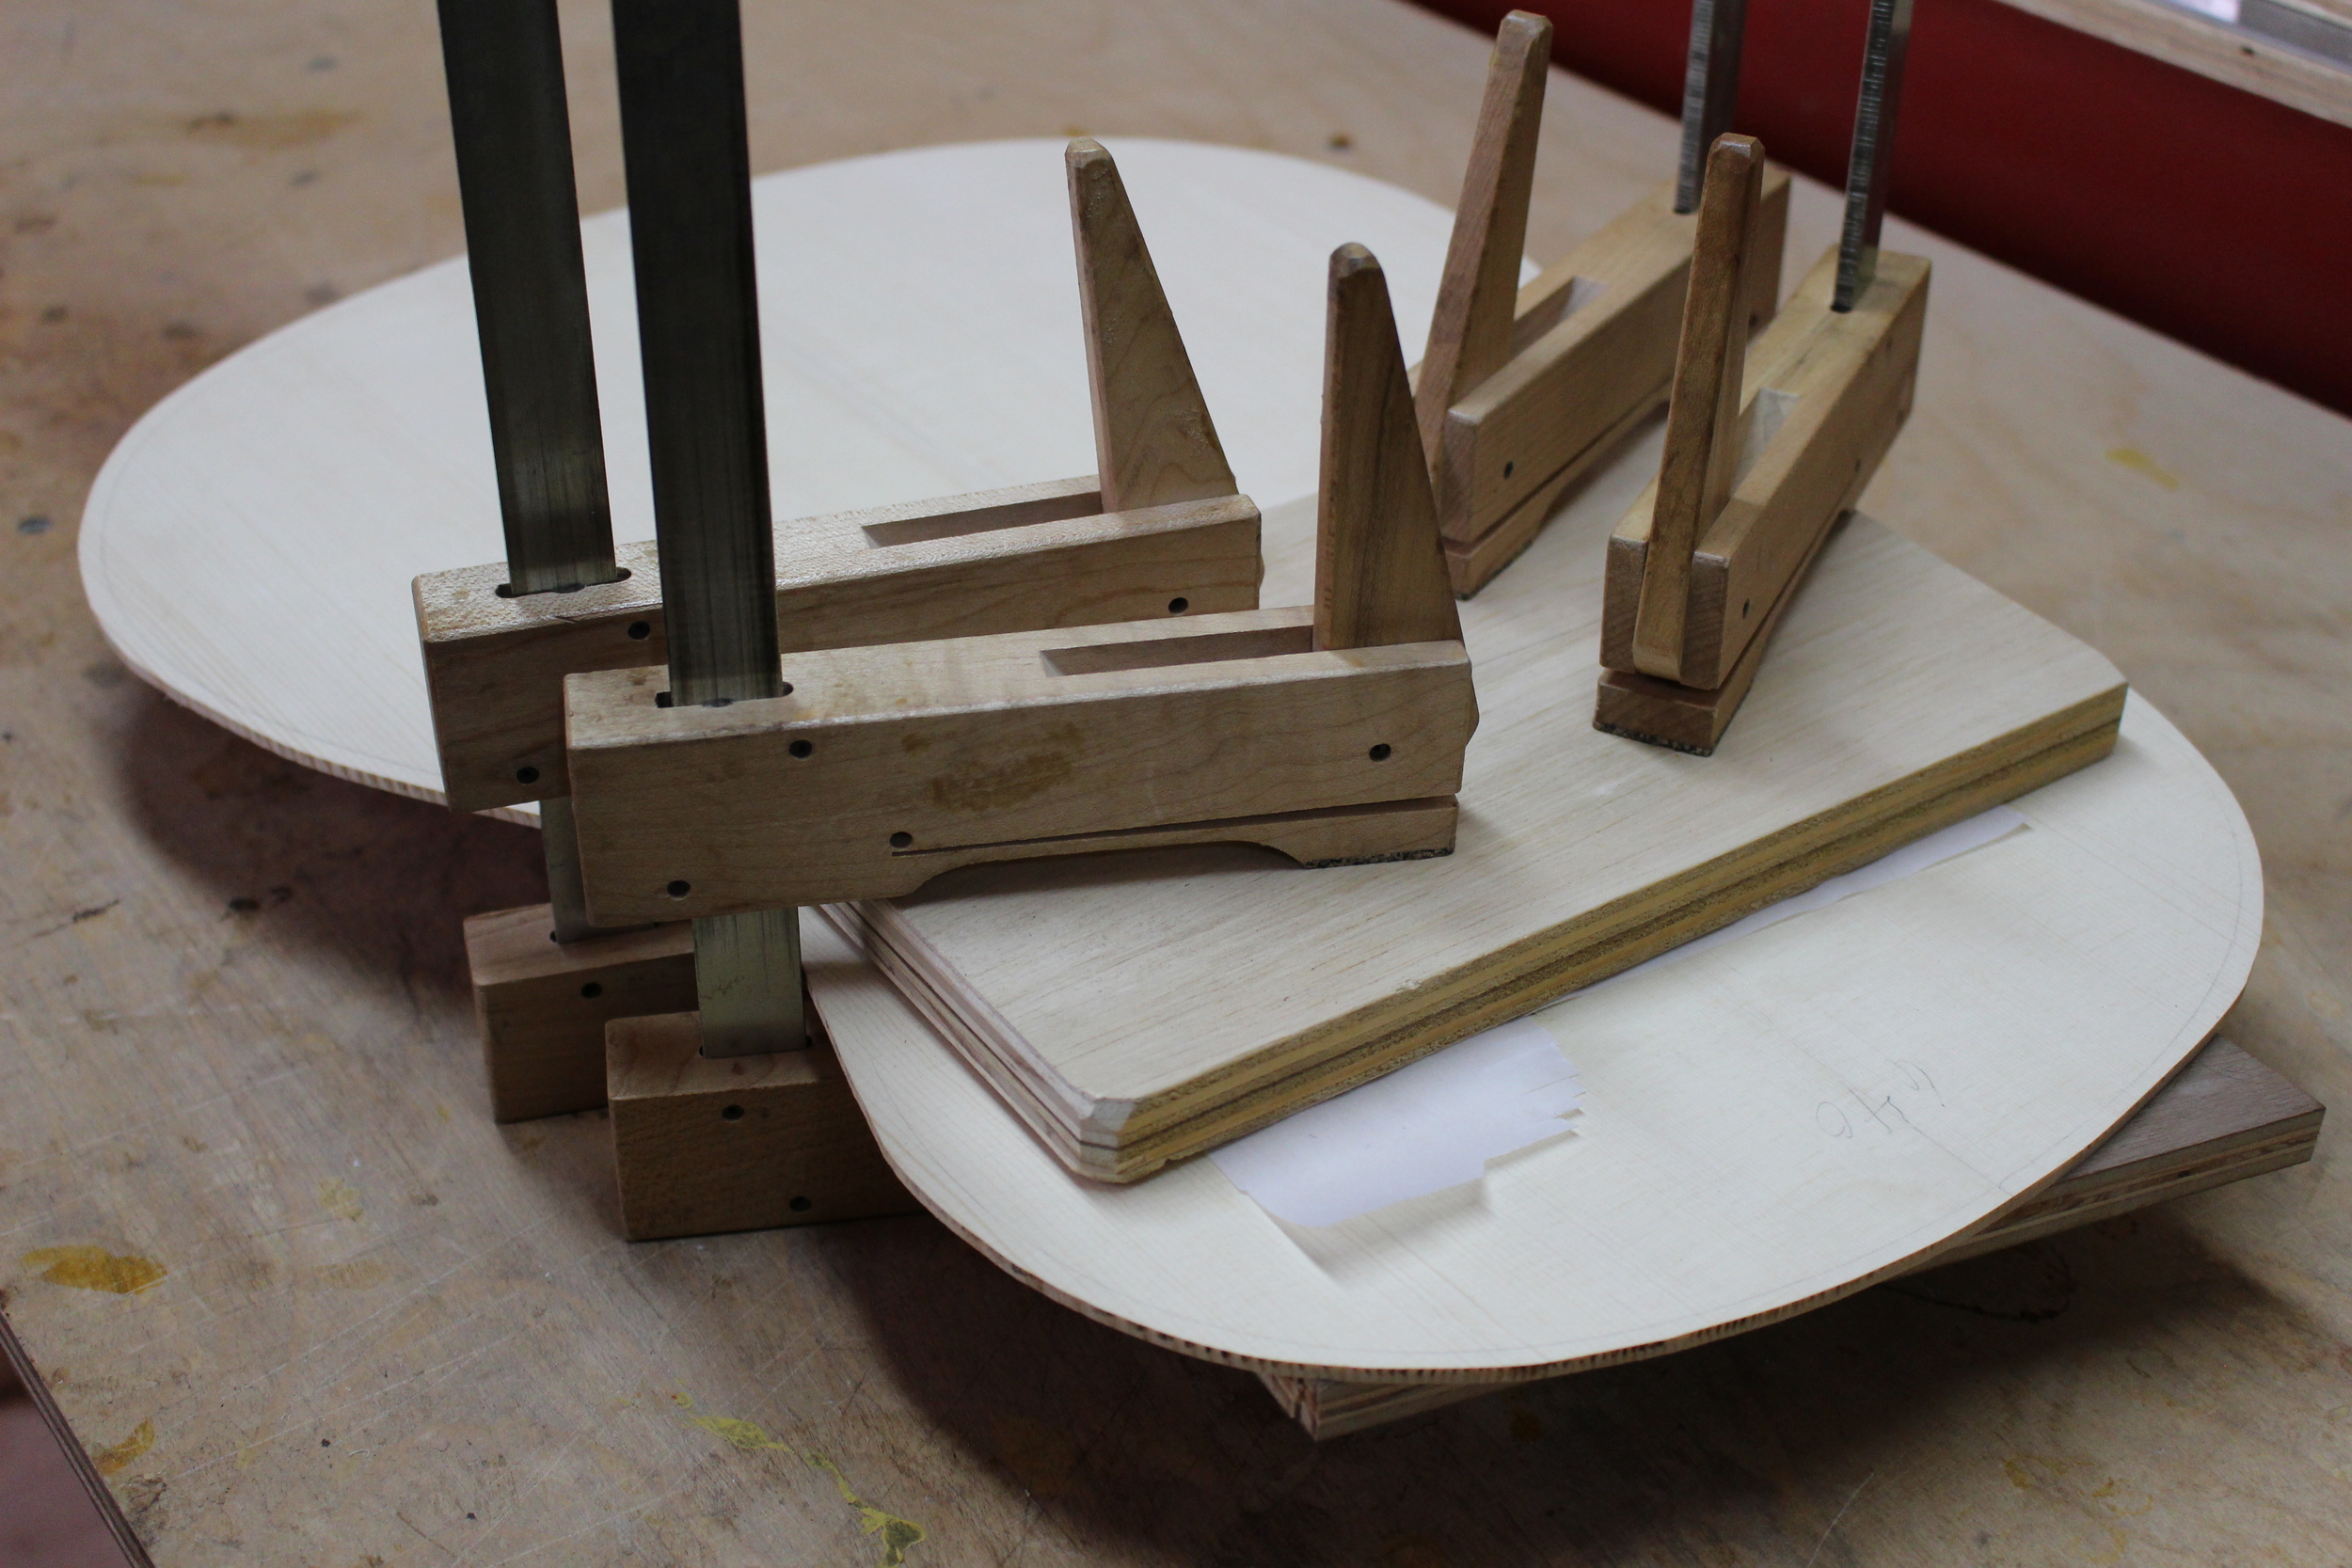
Moving along on a new custom project that'll hopefully be strung up this coming week. I made an armrest similar to those found on many of the Australian guitars, though it will attach semi-permanently to the side as opposed to directly onto the binding channel. It has a bent laminated side for stability and a solid beveled top. Pretty slick!
I made a giant batch of herringbone purfling that will hopefully last for a couple of years. I don't even want to think about how much time or money goes into each one... I also took a picture of my wool French polishing pad that I've been using for five years now. Looks pretty gross, but it works great!
In other news, I received one of these Visesnut cases in the mail recently from the Brunés and I'm very happy with it. It supports the guitar very nicely on the interior, is FAR more rigid than the Eastman or BAM cases and has very cool latches that don't have any tongues peaking out looking to stab your guitar top!
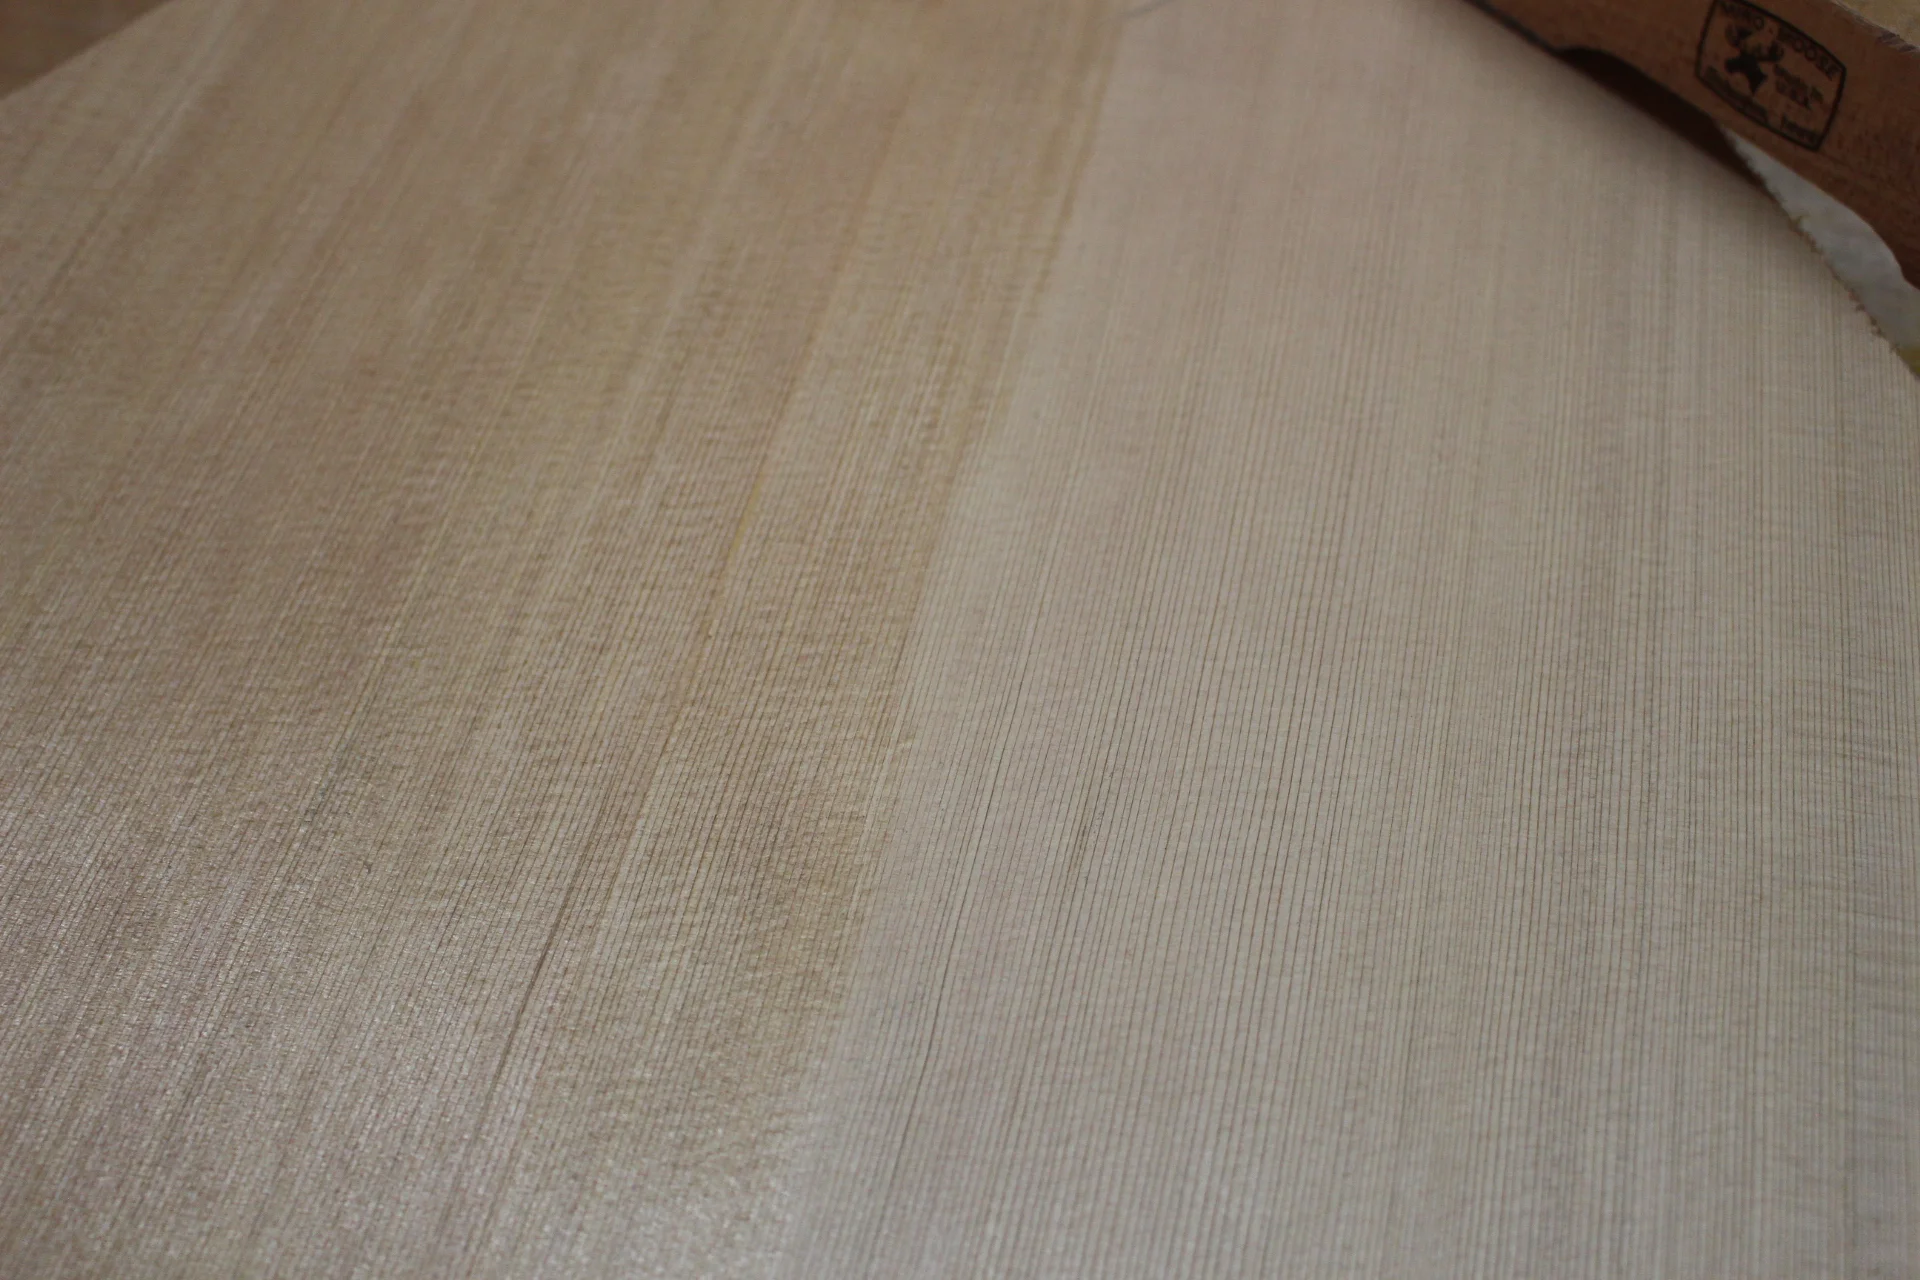
Lastly, here's a photo of a western red cedar top that I started working on yesterday that shows the drastic difference between a reflective hand-planed surface and a relatively dull sanded surface.


New Guitars, New Lute, New Video and Lots of Photos...
I was lucky enough to purchase a 1975 Robert Lundberg 10-course renaissance lute last week! It is in great playing condition. There are a few well repaired cracks and it looks as though the previous owner didn't know how to tie frets properly subsequently putting a couple of big burn marks on the neck. It's unfortunate, but only cosmetic. I've got it in tune, but it definitely needs new frets and new strings as the current ones must be over 20 years old!
In other news, I'm just started putting finish on two new guitars. One is a custom spruce concert model with an elevated fingerboard and the other is a straight-forward western red cedar topped concert model.
I also made a new video of my Torres model that is at the Rosewood Guitar shop with my friend Ryan on clavichord.


Making More Herringbone/Wheat Purflings and New Torres Model
Used up the last of a batch of herringbone purflings and I'm slowly going to the process of cutting and gluing and cutting and gluing and cutting and gluing some more...
In other news, I finally strung up this new Torres model. Beautiful deep resonance with warm but brilliant trebles.
- German spruce top
- Indian rosewood back and sides
- Spanish cedar neck
- Ebony fretboard
- 51 mm nut
- 650 scale length
- Gotoh premium tuners with mother of pearl buttons


Bindings, Purlfings and New Torres Model
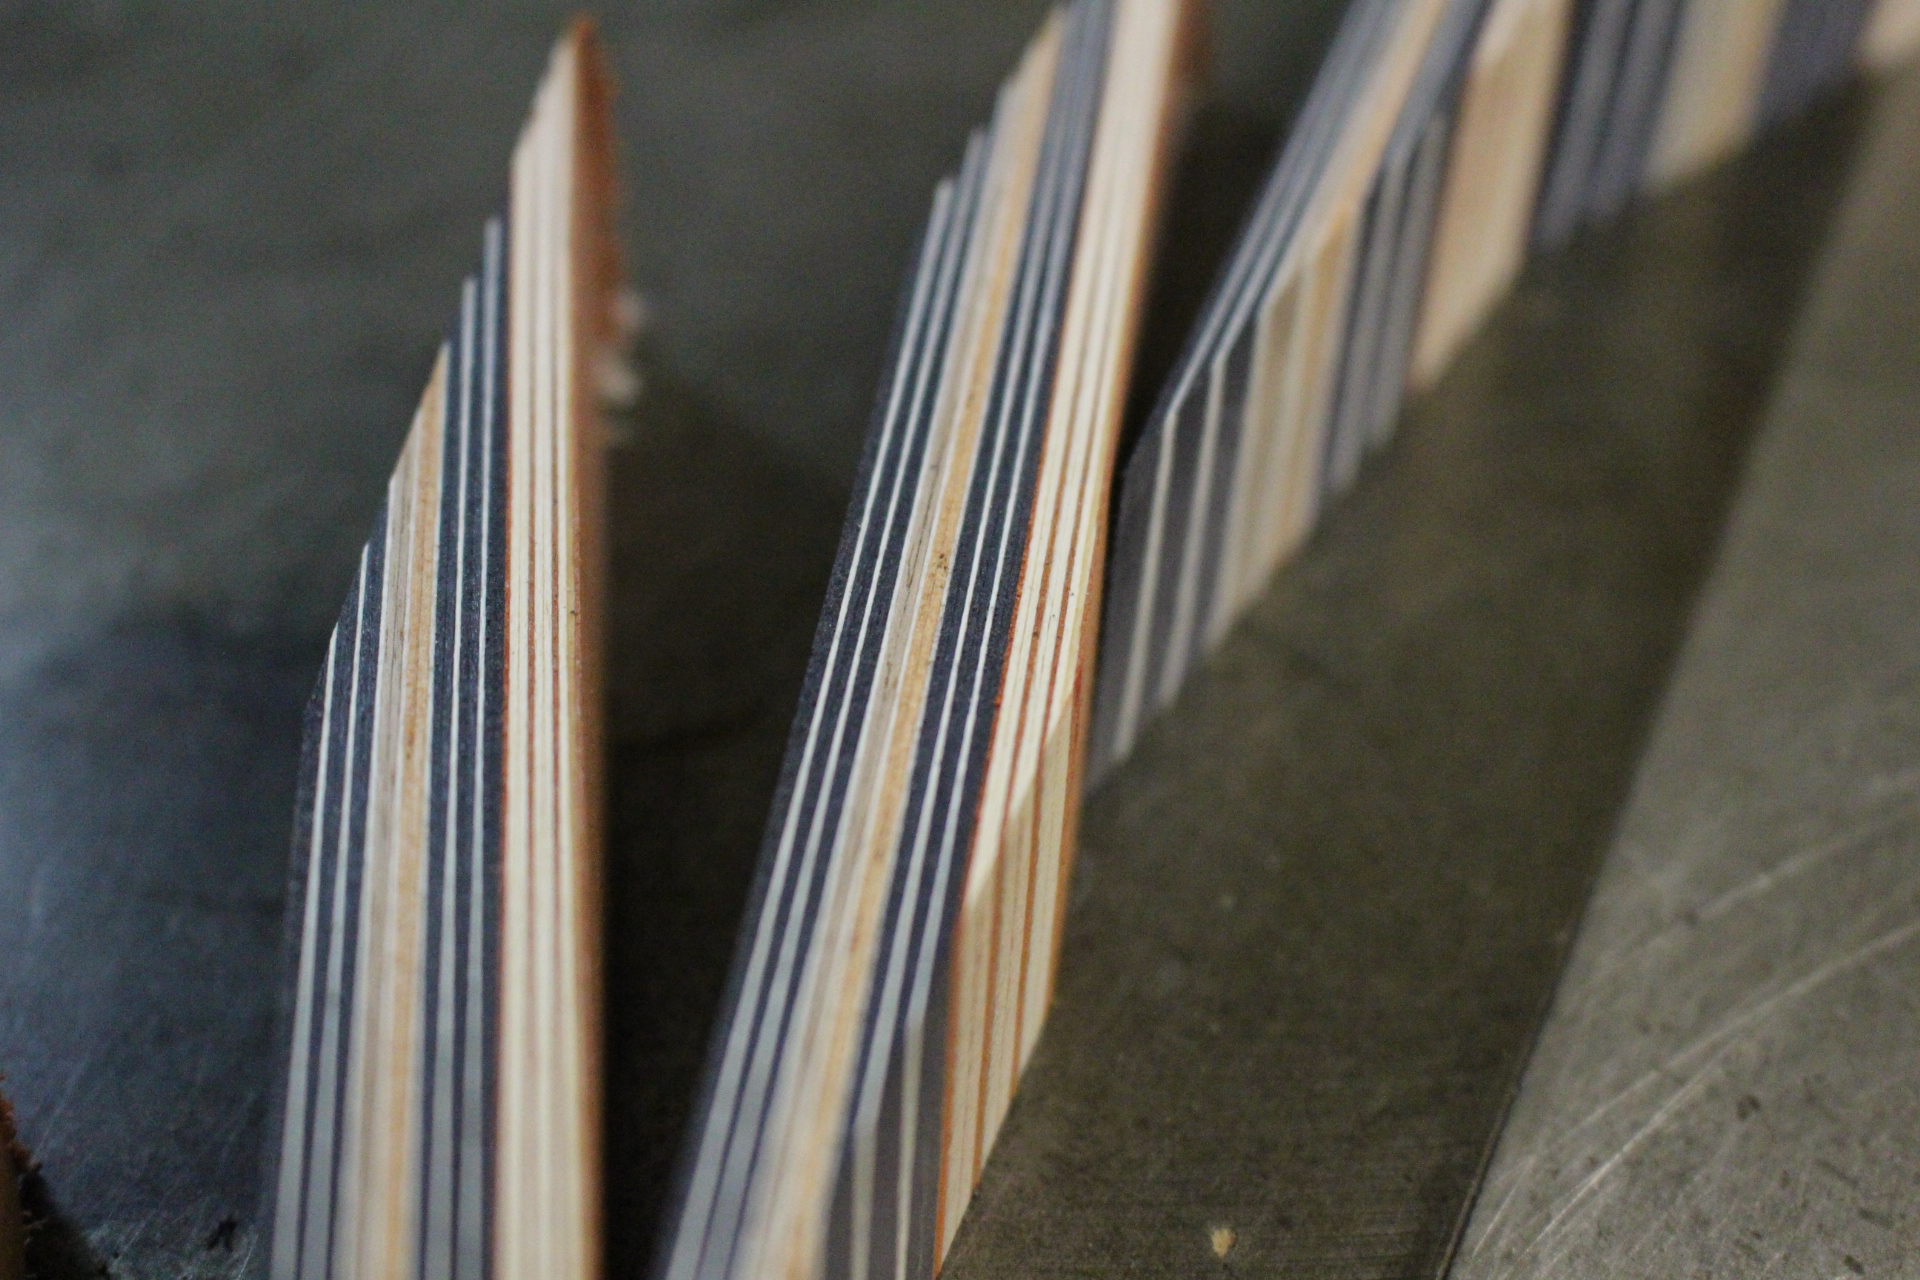
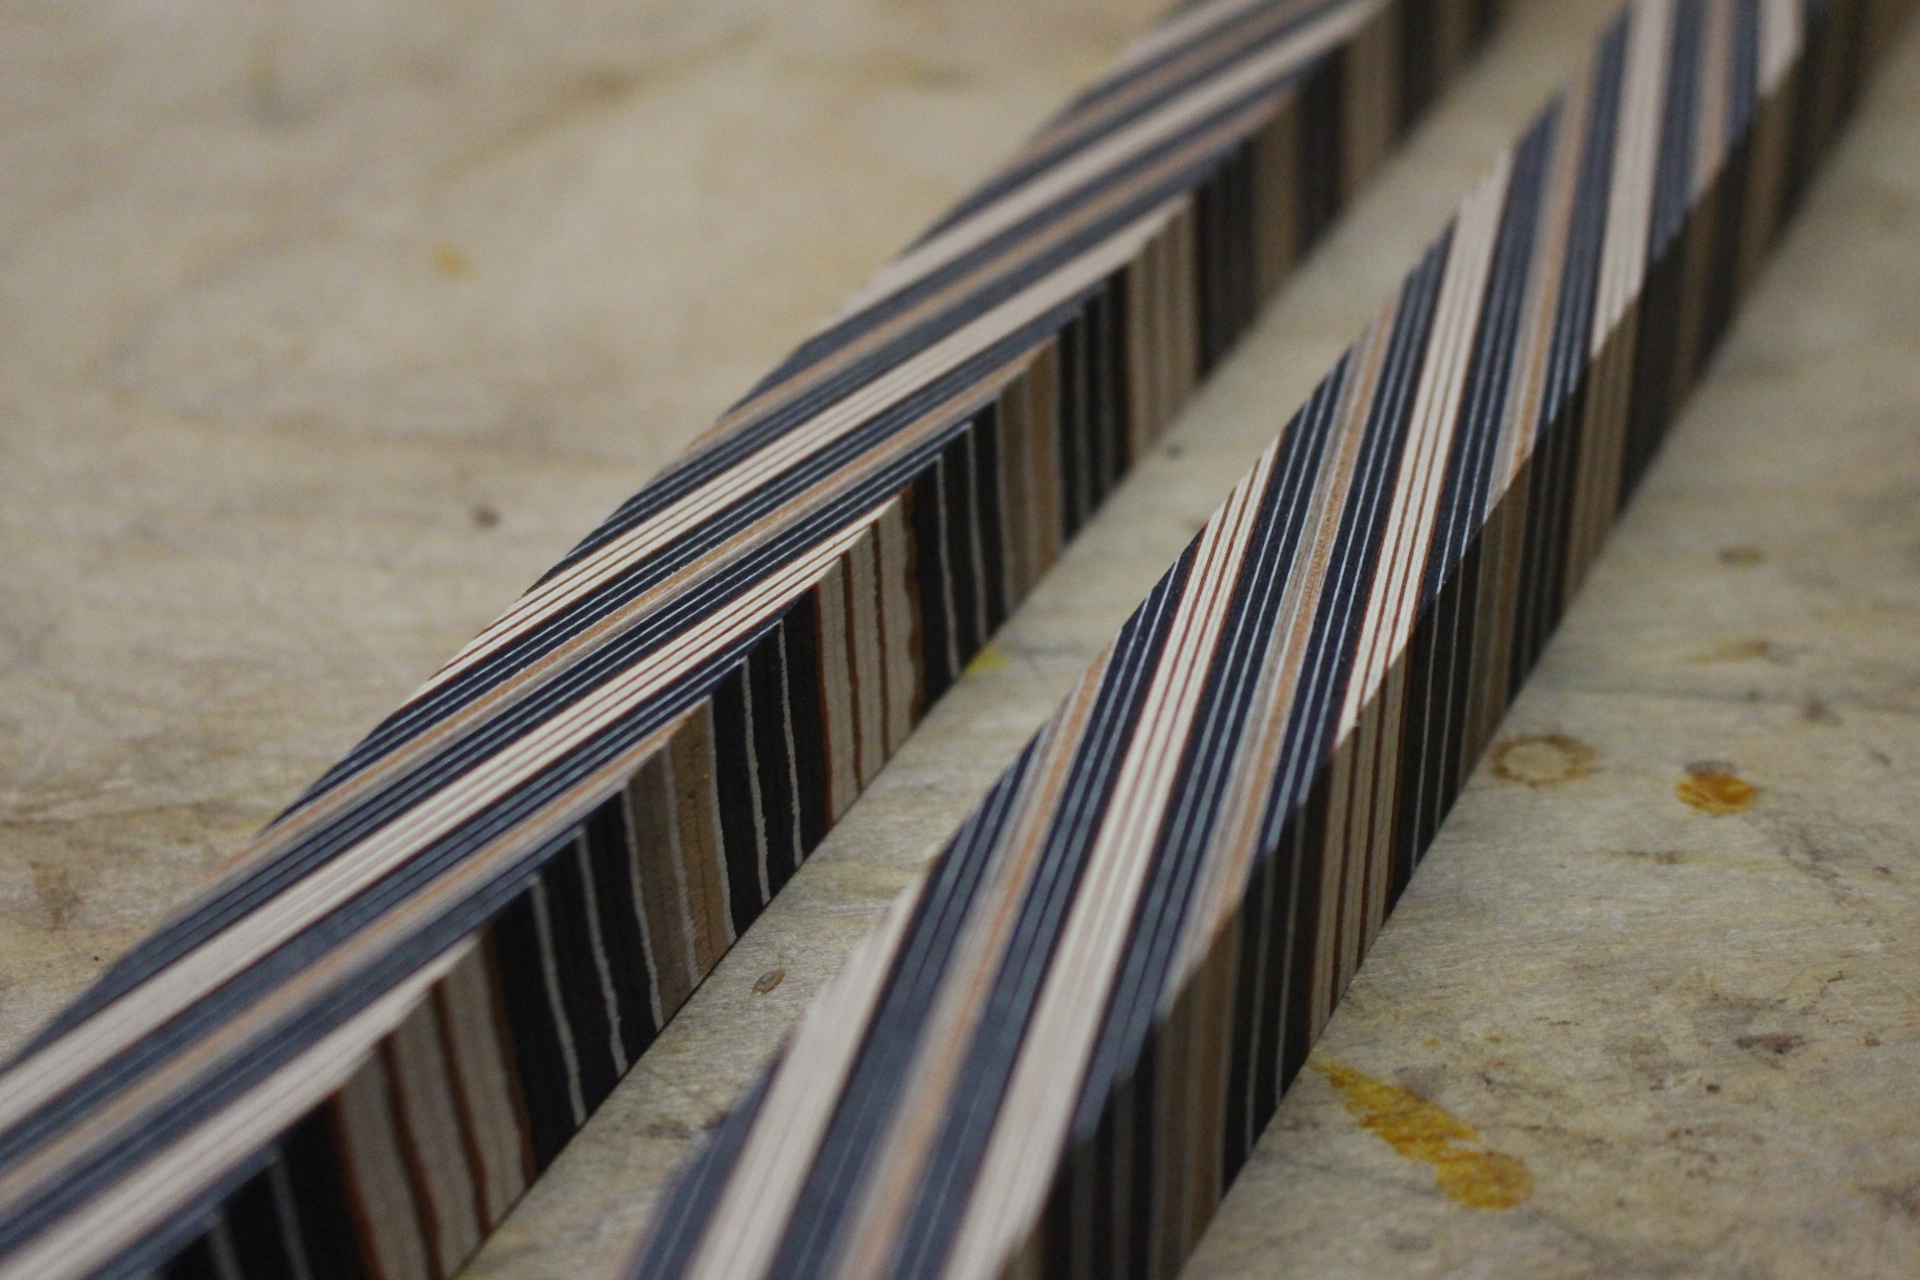
Spent some time recently coming up with a new binding and purfling scheme. It includes various thicknesses of maple, Spanish cedar and both American and European walnut!
Bridge is on the new Torres model and it should be strung up and ready to go in a few days!


