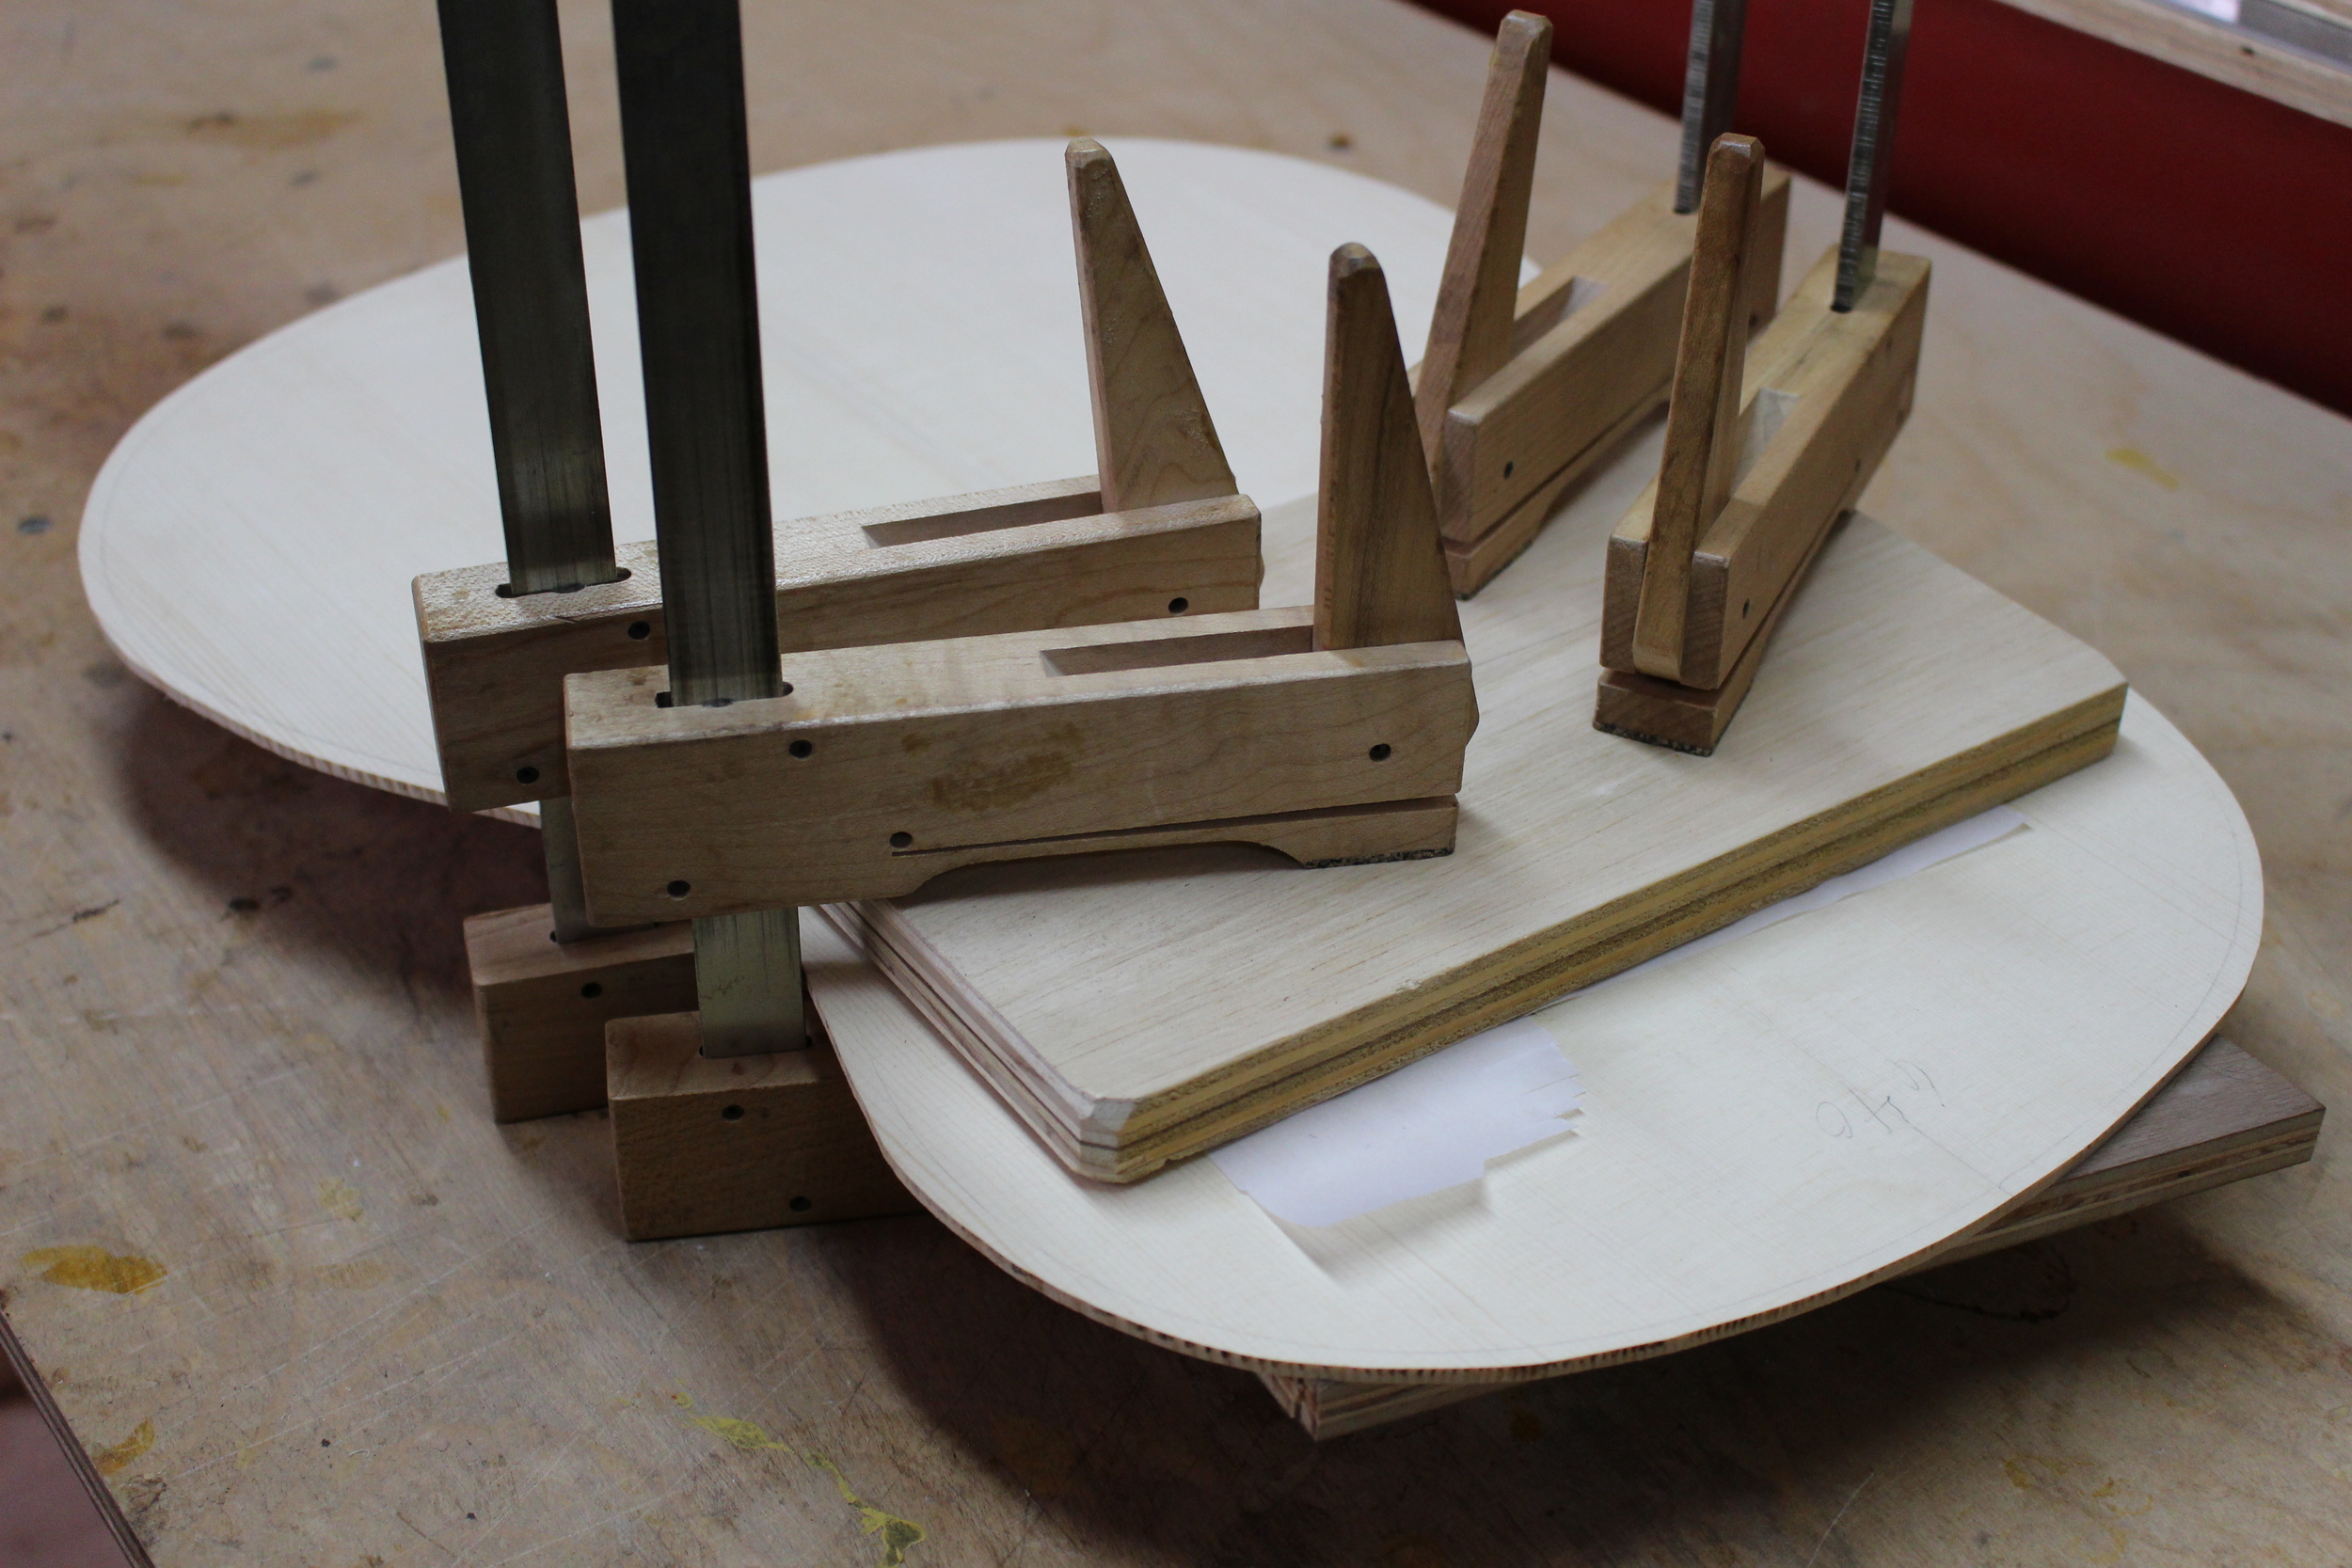
It always feels like a bit of a chore to switch gears from finishing to building all over again, but it must be done.
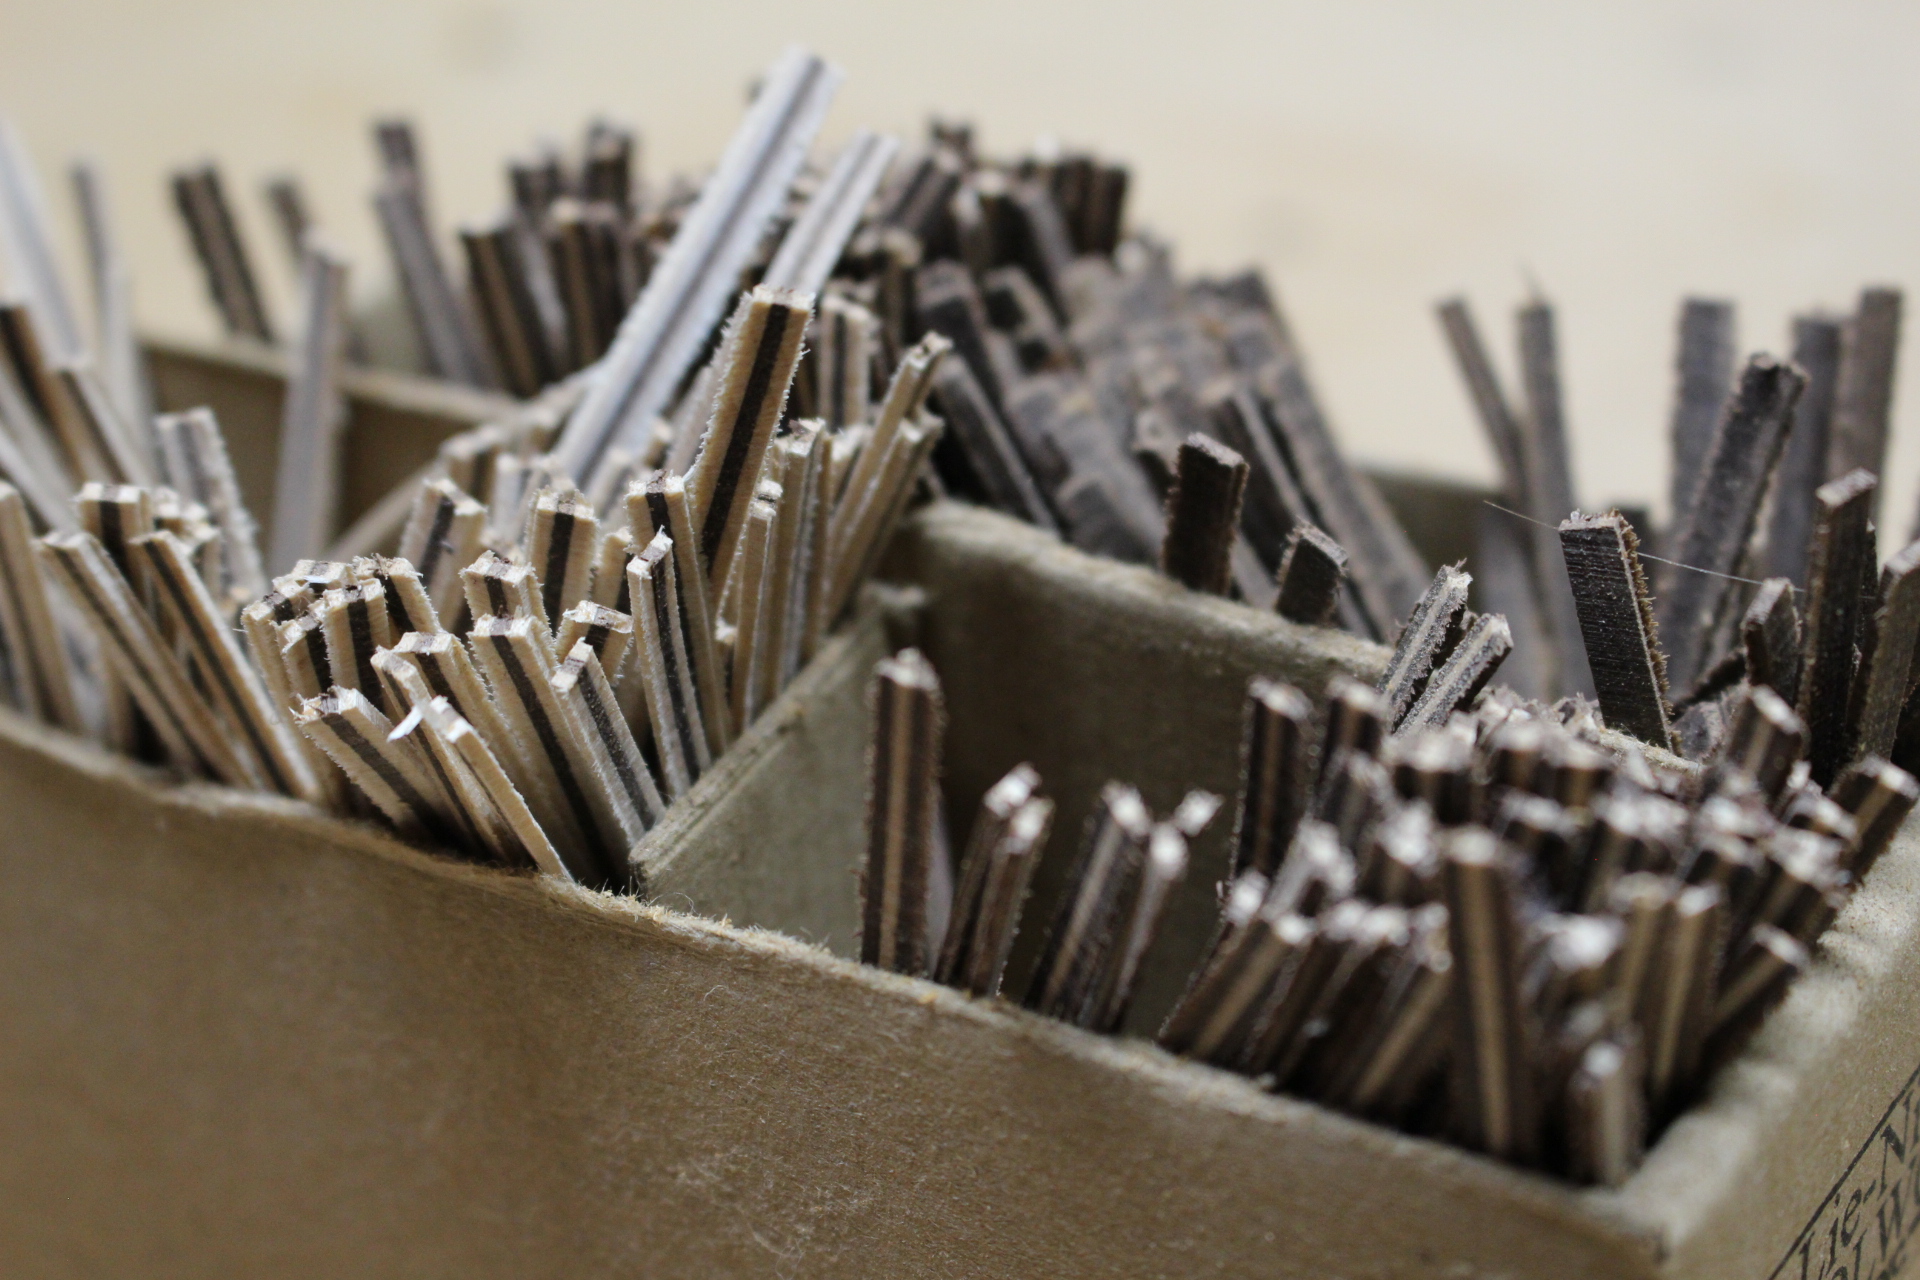
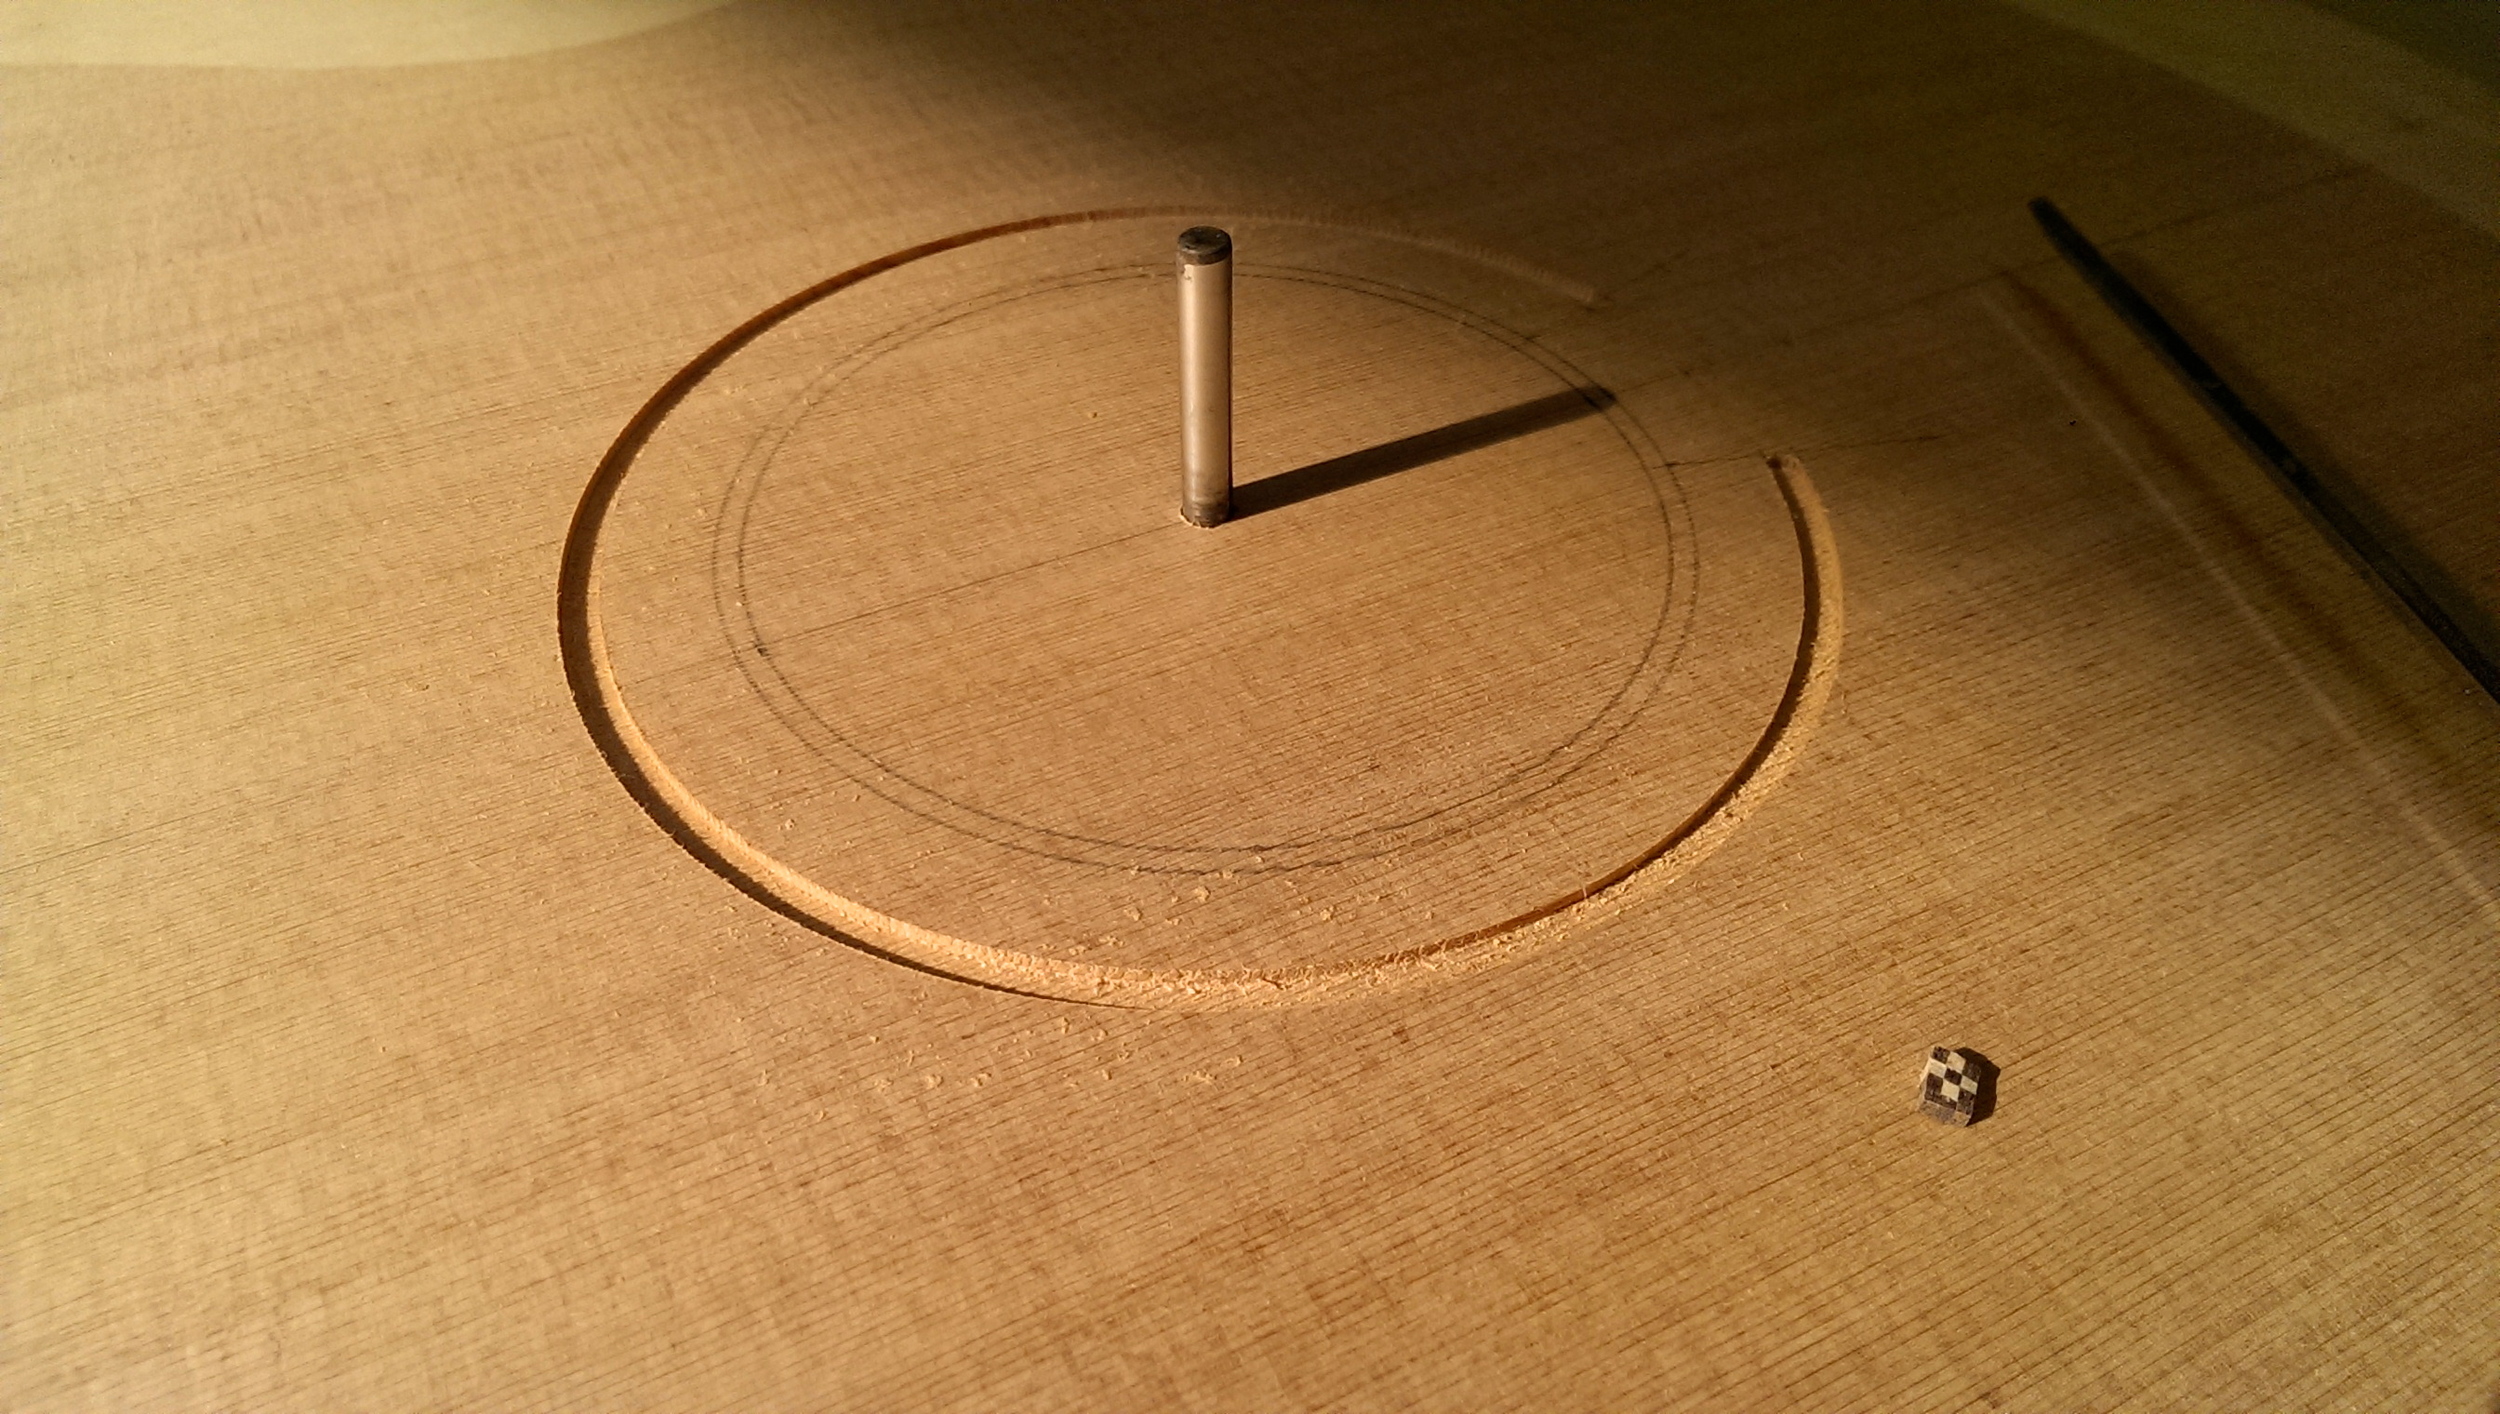
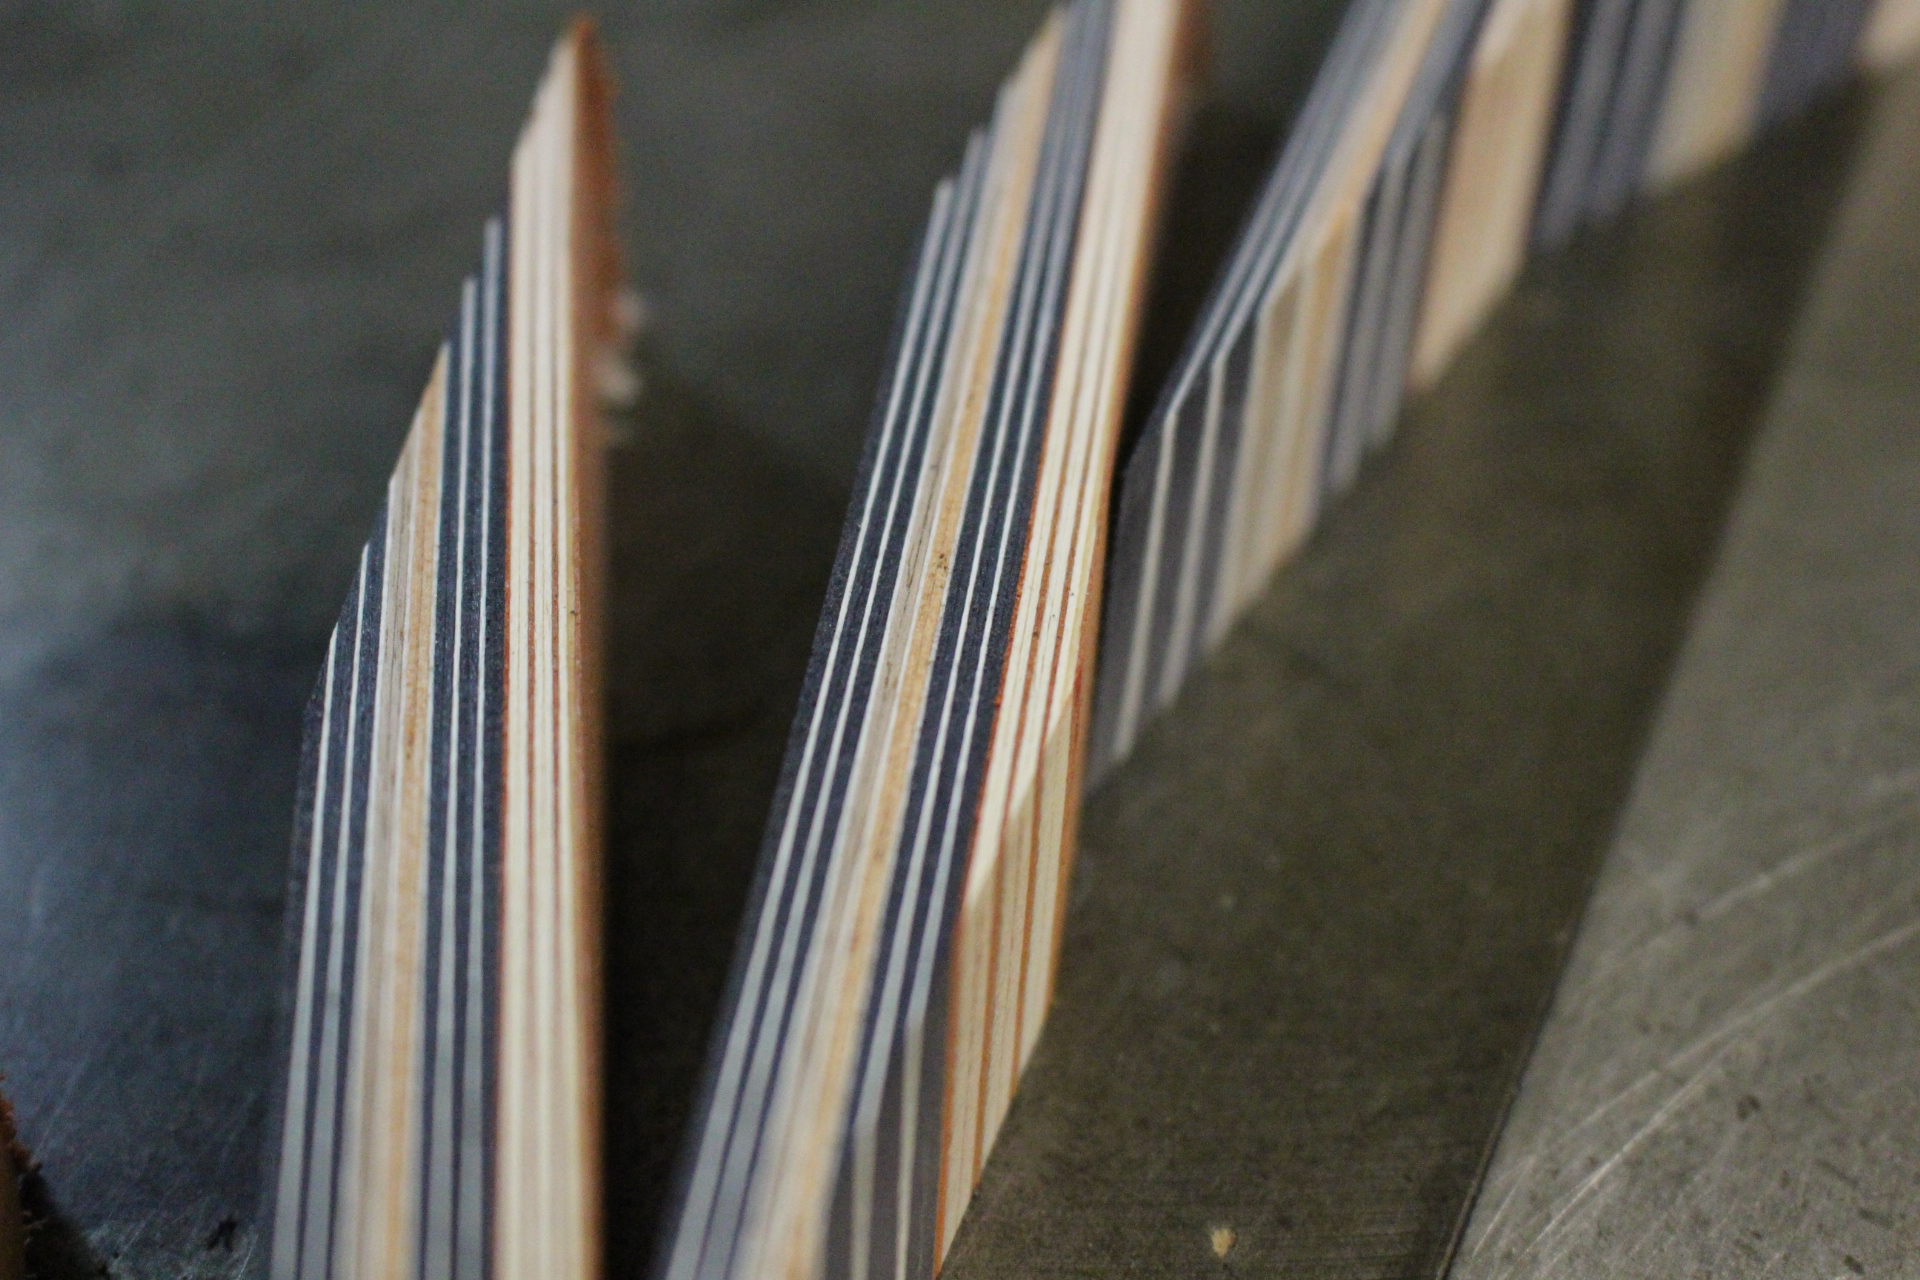
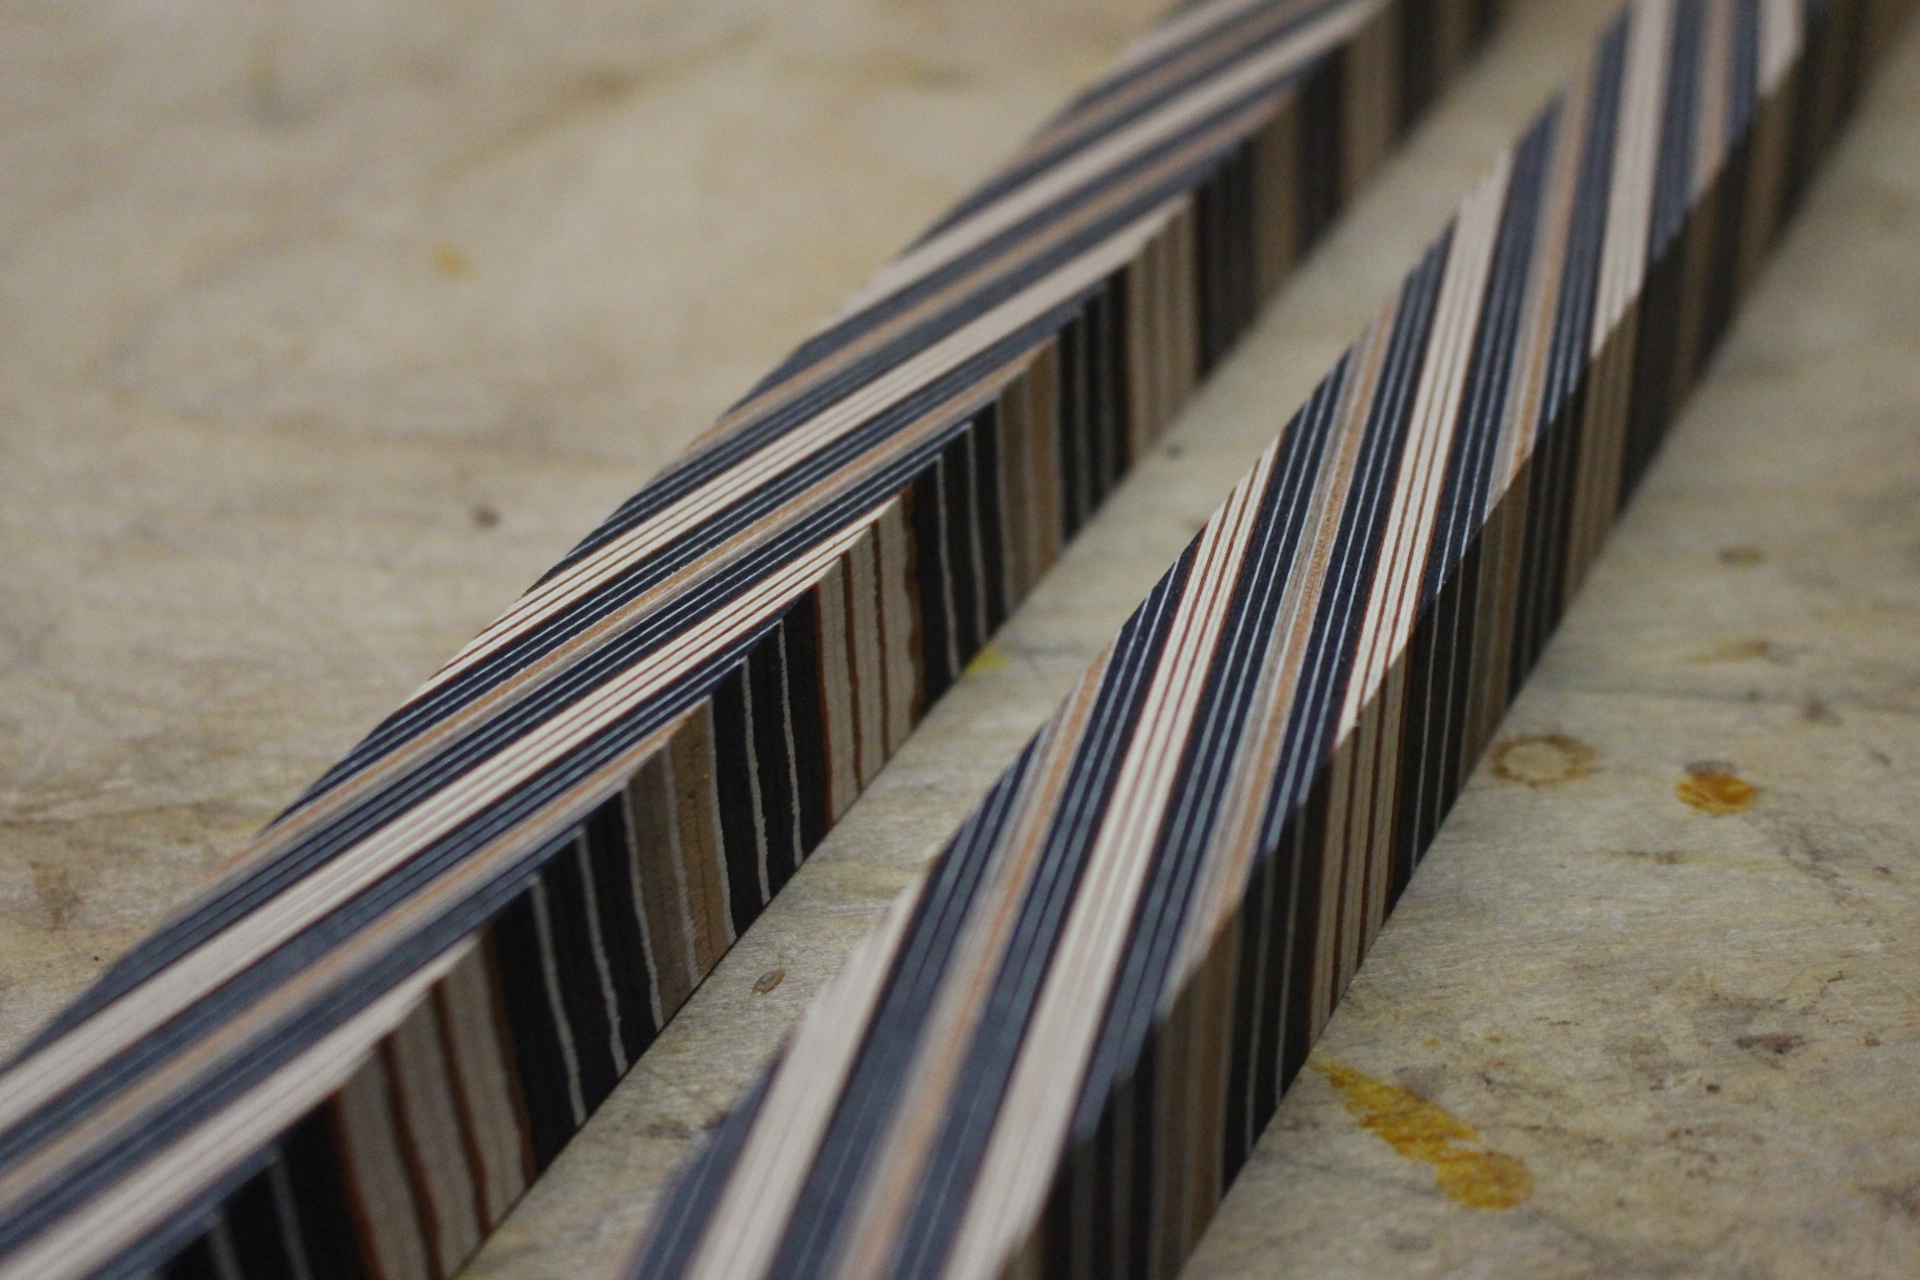
Today, I started making up more mosaic tiles for my standard rosettes and thought that it would be nice to document and explain the process more thoroughly and in a linear manner. I use a combination of black walnut and maple in my mosaic. It's a play on the old cross motif used by Antonio de Torres, but probably more commonly associated with Hermann Hauser and perhaps Manuel Velasquez after him. I glue up the logs in a little cam jig that I made and then slice them on the band saw or with a small razor saw. The subsequent tiles are fit and then glued into a channel in the soundboard. The outer bands of the rosette are made with various thicknesses of walnut, Spanish cedar, maple and dyed veneers. I make my herringbone purfling by laying up thirty-some different strips of veneer, cutting them at an angle, gluing them back together, cutting, flipping and so-on until I am left with a giant pile of small strips that hopefully last me for a year or so. It is extremely important to to keep these laminated logs square so that the bones of the herringbone motif line up consistently in the end. Finally, the outer rings are bent on a hot iron and then glued into two more channels surrounding the mosaic.
Pictured below that rosette is one taken almost exactly from Antonio de Torres. This rosette is assembled in much the same way, but is surprisingly even more difficult to manage because the individual pieces are smaller and bounce around when you touch them or breath too hard! Likewise, the big mosaic tiles used by many mid to late 20th century builders have many more pixels, but end up being easier to handle because they are larger as a whole.
Following all of those photos is one of my back and side purflings meeting in miter joints that I take great care to fit accurately. The combination of walnut and Spanish cedar fits in thematically with my rosette.
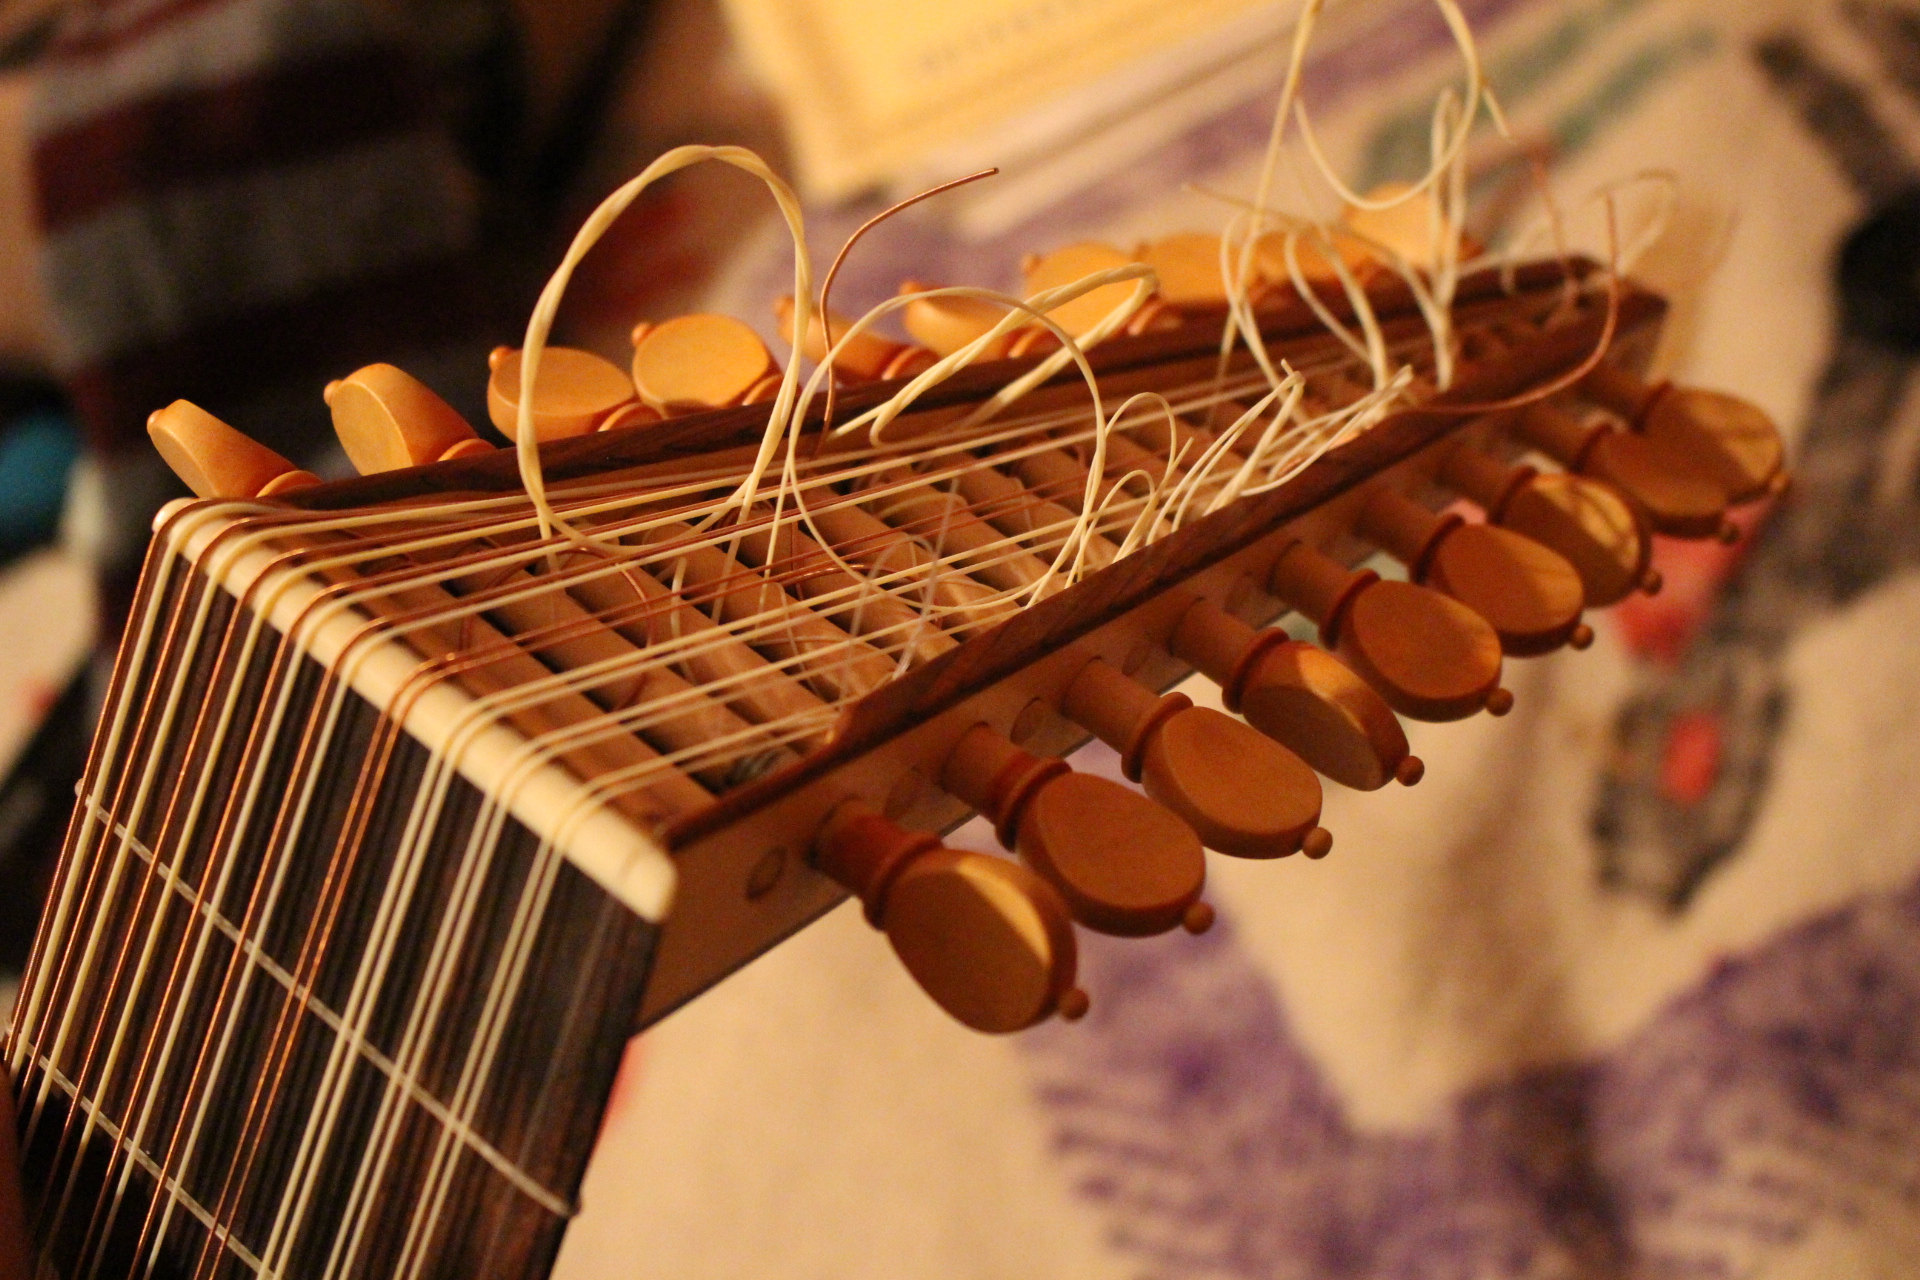
In other news, I finally put new strings and frets on the lute that must have been 30 or 40 years old! I ordered them Olav Chris Henriksen at Boston Catlines. He was very helpful and informative. The frets are real gut. I was surprised at how straightforward it is to put them on in general. That being said, the wider diameter (0.105") fret gut can be difficult to manage without accidentally bending unwanted kinks in the fret. It took me a couple tries to get the first fret tied cleanly. The strings are a combination of regular nylon, copper wound nylon and nylgut, which is a relatively denser formulation of nylon meant to better simulate the characteristics of gut. I have also applied peg coumpound or as the English call it, "a composition for pegs which have ceased to run smoothly" to a few of the pegs that were sticking. I was warned to be conservative with its application though as apparently it's easy to go overboard causing the pegs to slip.